
Raising Recaros Back from the Graveyard

Entry posted by bergie33 in Restoration
1,118 views
Recaro seats from a BMW E21 were at the top of the list of upgrades that I was planning for Conrad. I have had them in my 2002s before, and to me, they are a must for ultimate comfort.
The journey for these seats is a long and interesting one. Here are all the details, if you care to follow the journey from graveyard to resurrection...
While pursuing the internet for parts, I came upon a website that searches wrecking yards for cars and parts based on your search parameters. I input the typical e21 search specifics and started looking through the listing. Some had pictures, others did not. I came upon a listing in Minnesota that showed pictures of a verrryyy early 1977 320i.


Are those Recaro seats I see in the interior pic?


I sent a message to the wrecking yard for more pics and price info. The pics came back and the seats were definitely the Recaro sport seats, and were pretty rough. That didn't really bother me as I was going to reupholster whatever seats I got to match the rest of the tan interior.
Since this car was a 1977 (Conrad, being a Tii, wanted a vented disc brake upgrade for the front, requiring front hubs from an early 320i), I asked the wrecking yard about the hubs and they were available. And, just as the seats, they were priced ridiculously cheap. Now seats are big and heavy, so I asked about shipping. They asked where I was located and when I said Utah, they said they were preparing a pallet with seats from a 1990 Cadillac to ship to a guy in Salt Lake City, a 1 hour drive away from my house. It was meant to be. They shared our respective contact info with each of us and we worked out sharing the shipping cost from MN to UT. What a deal!
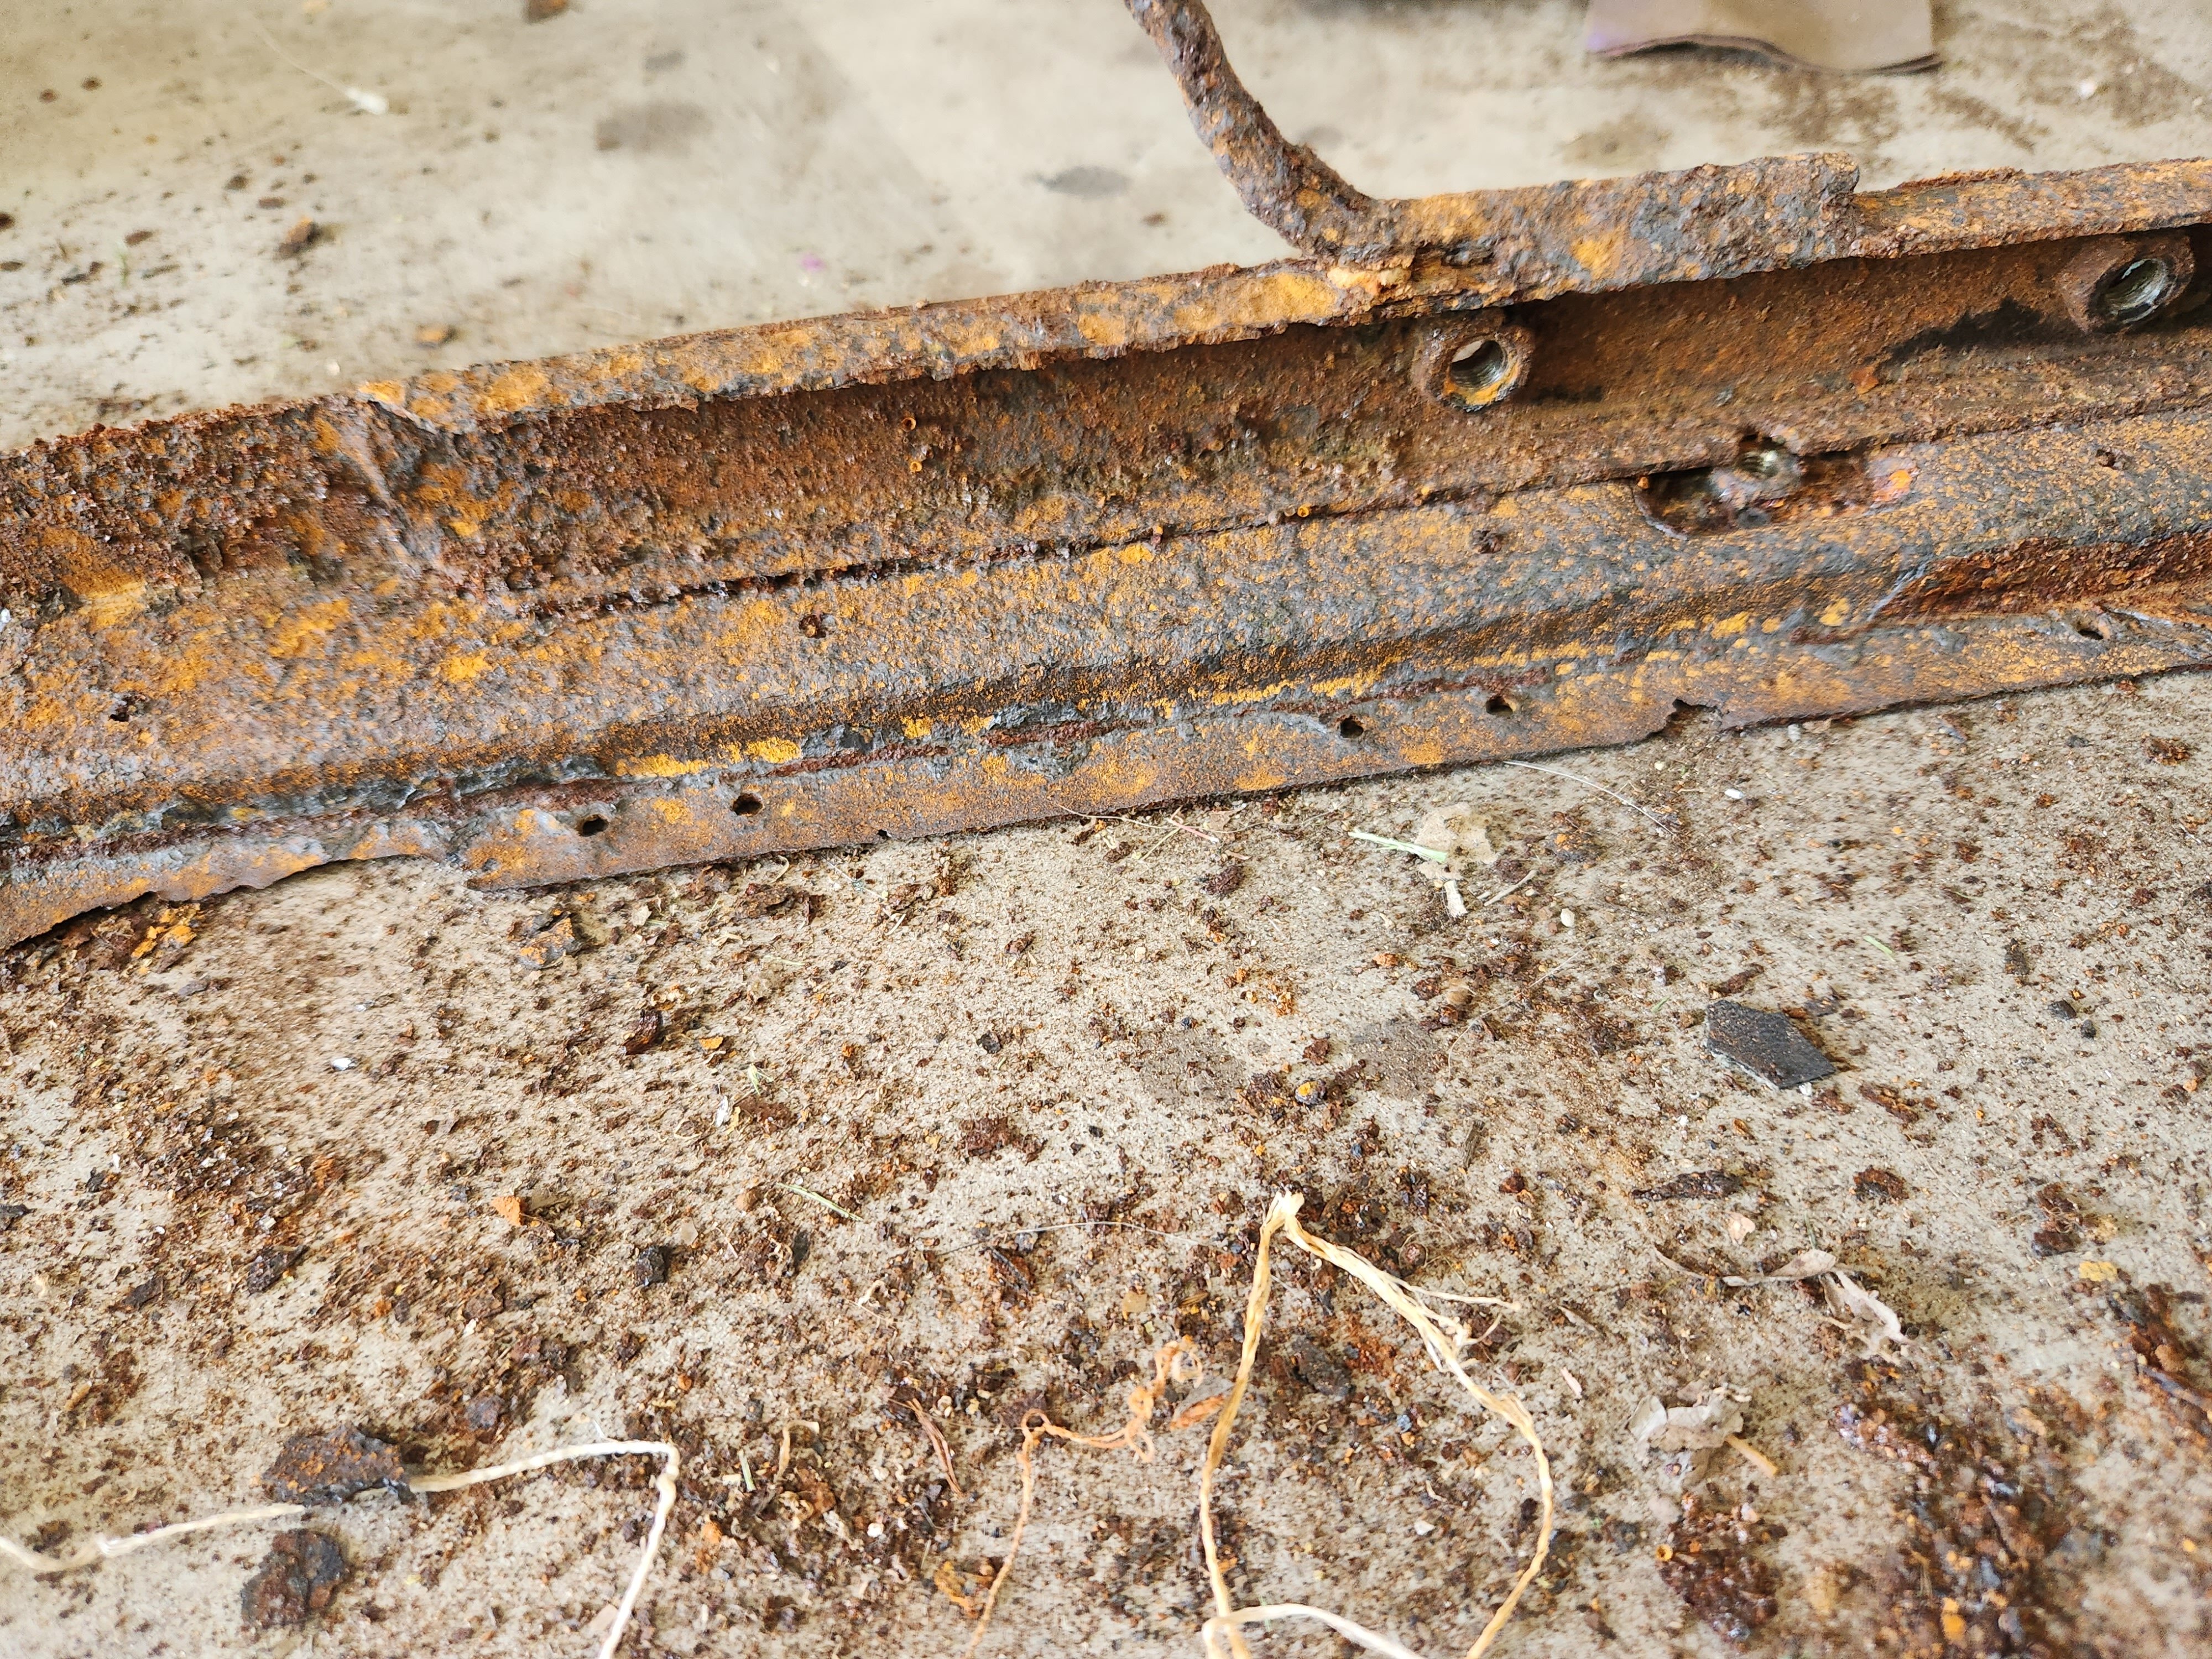
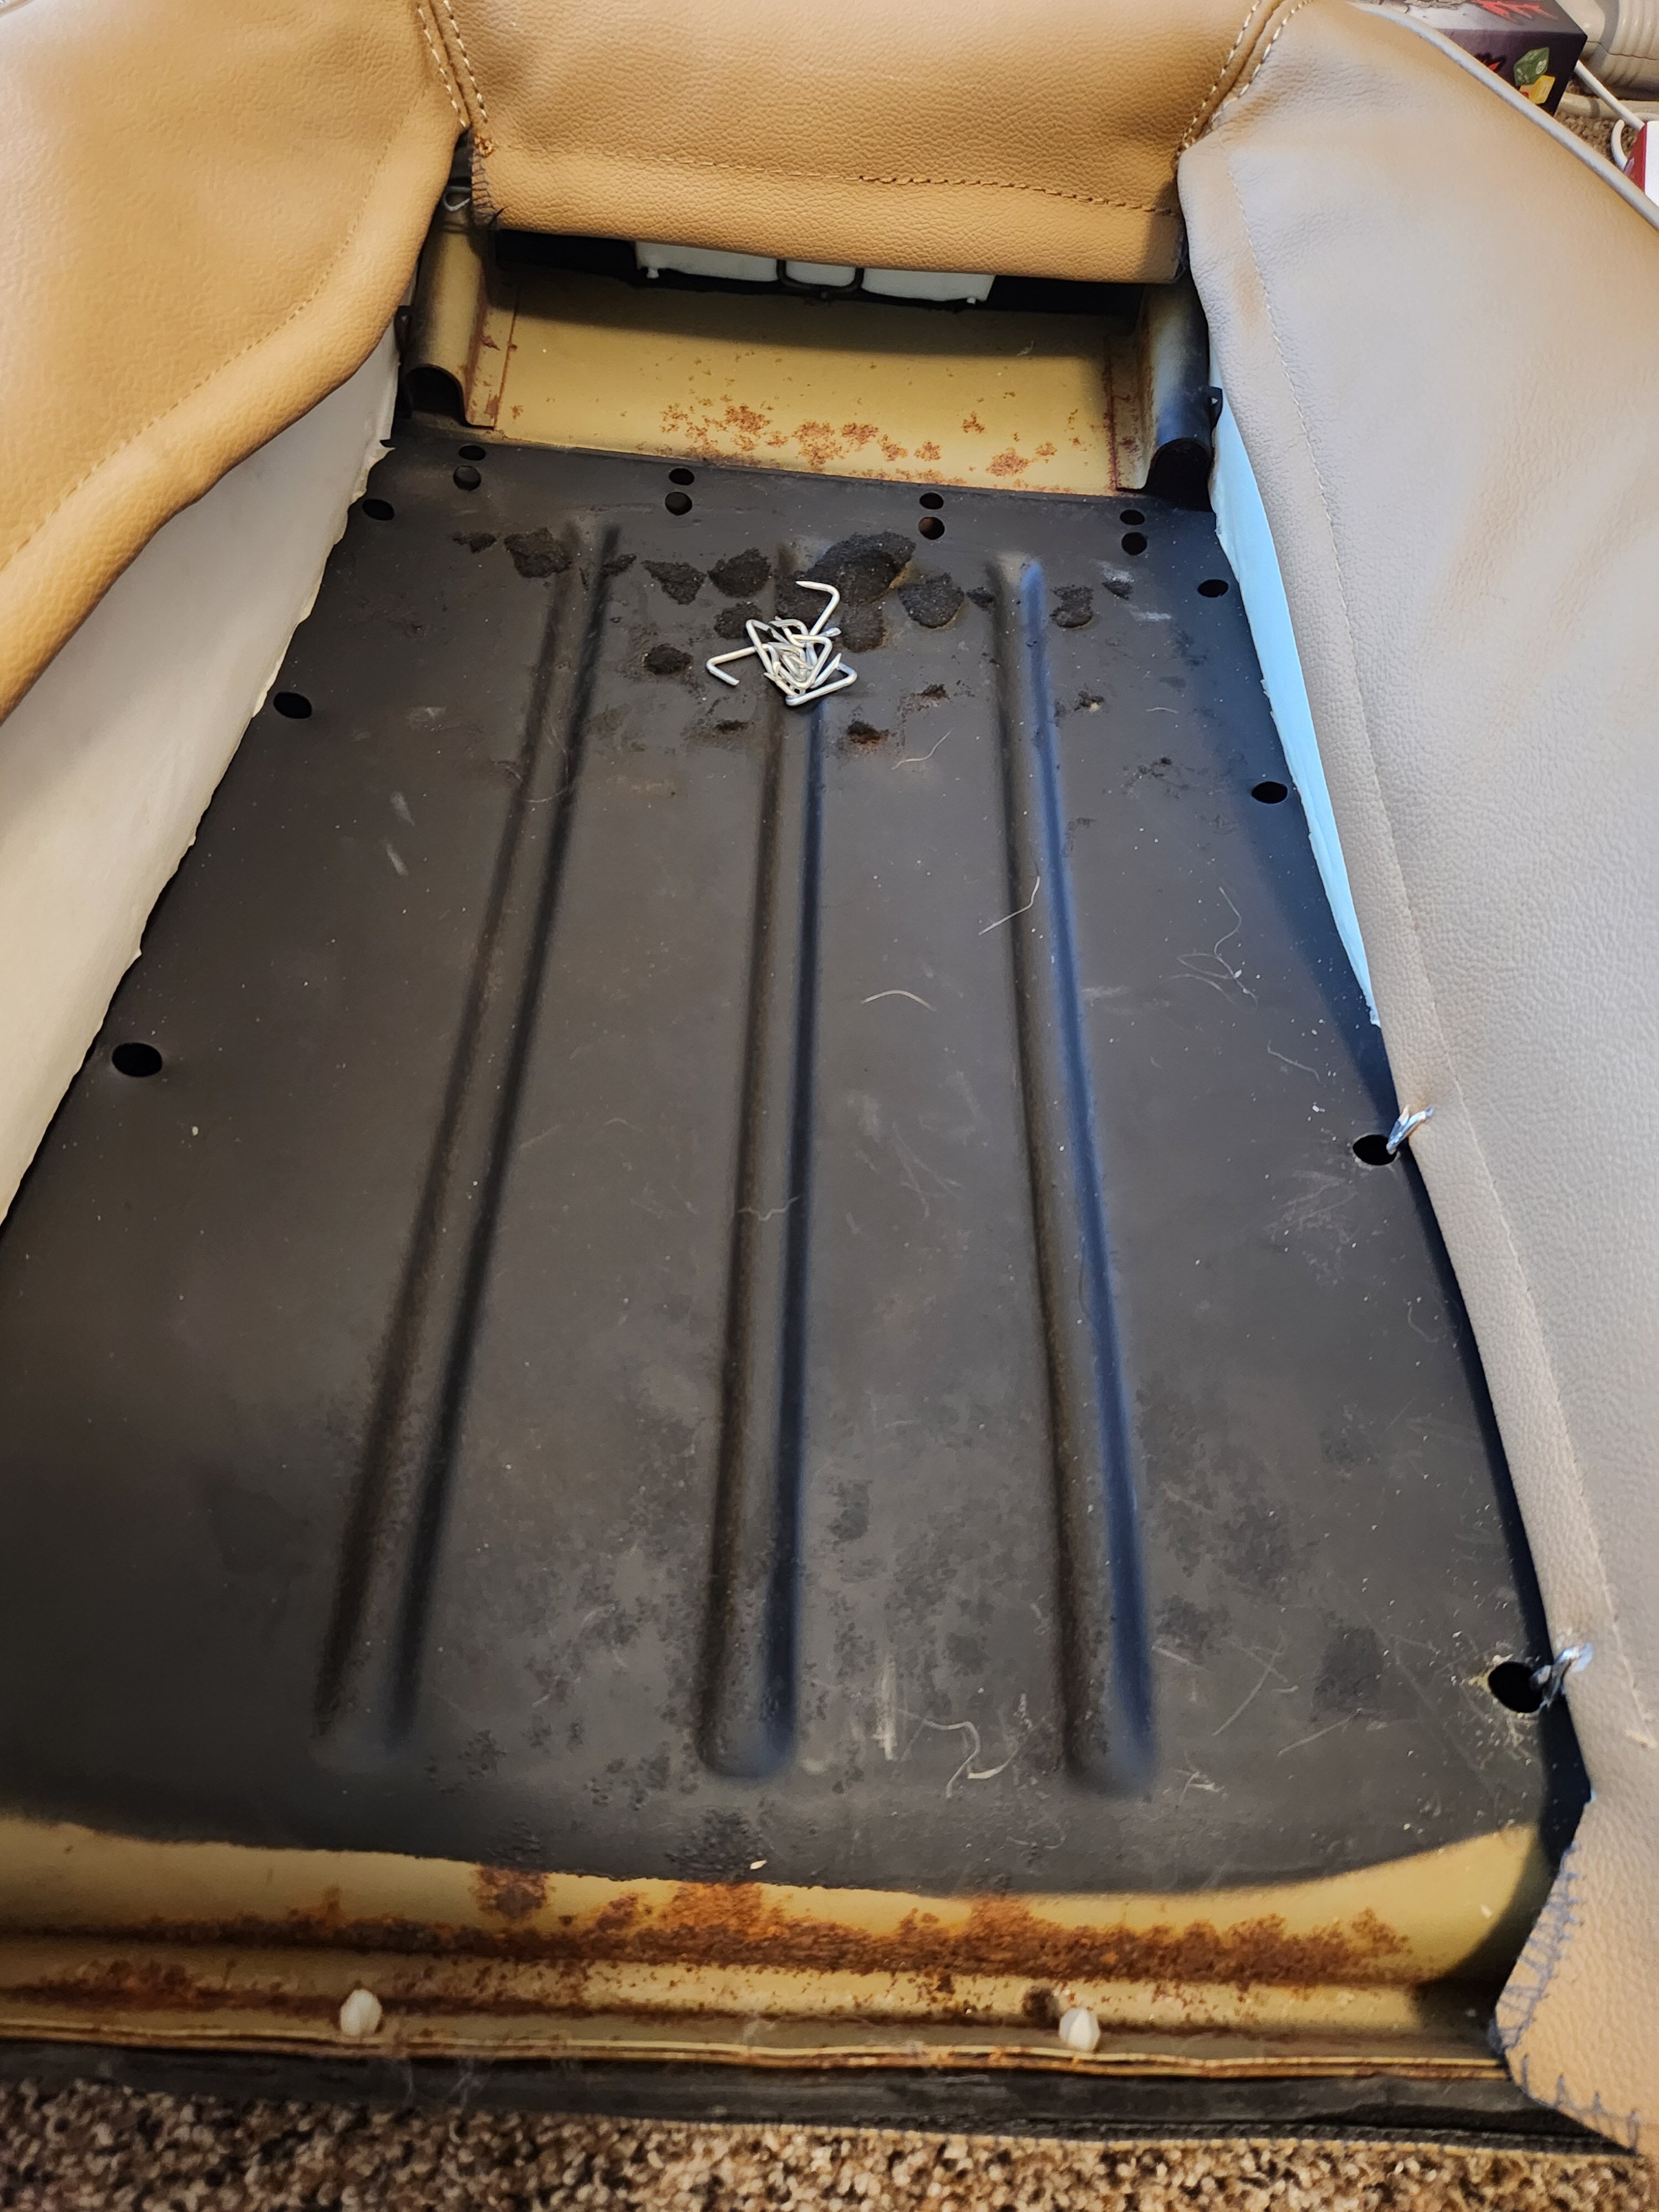
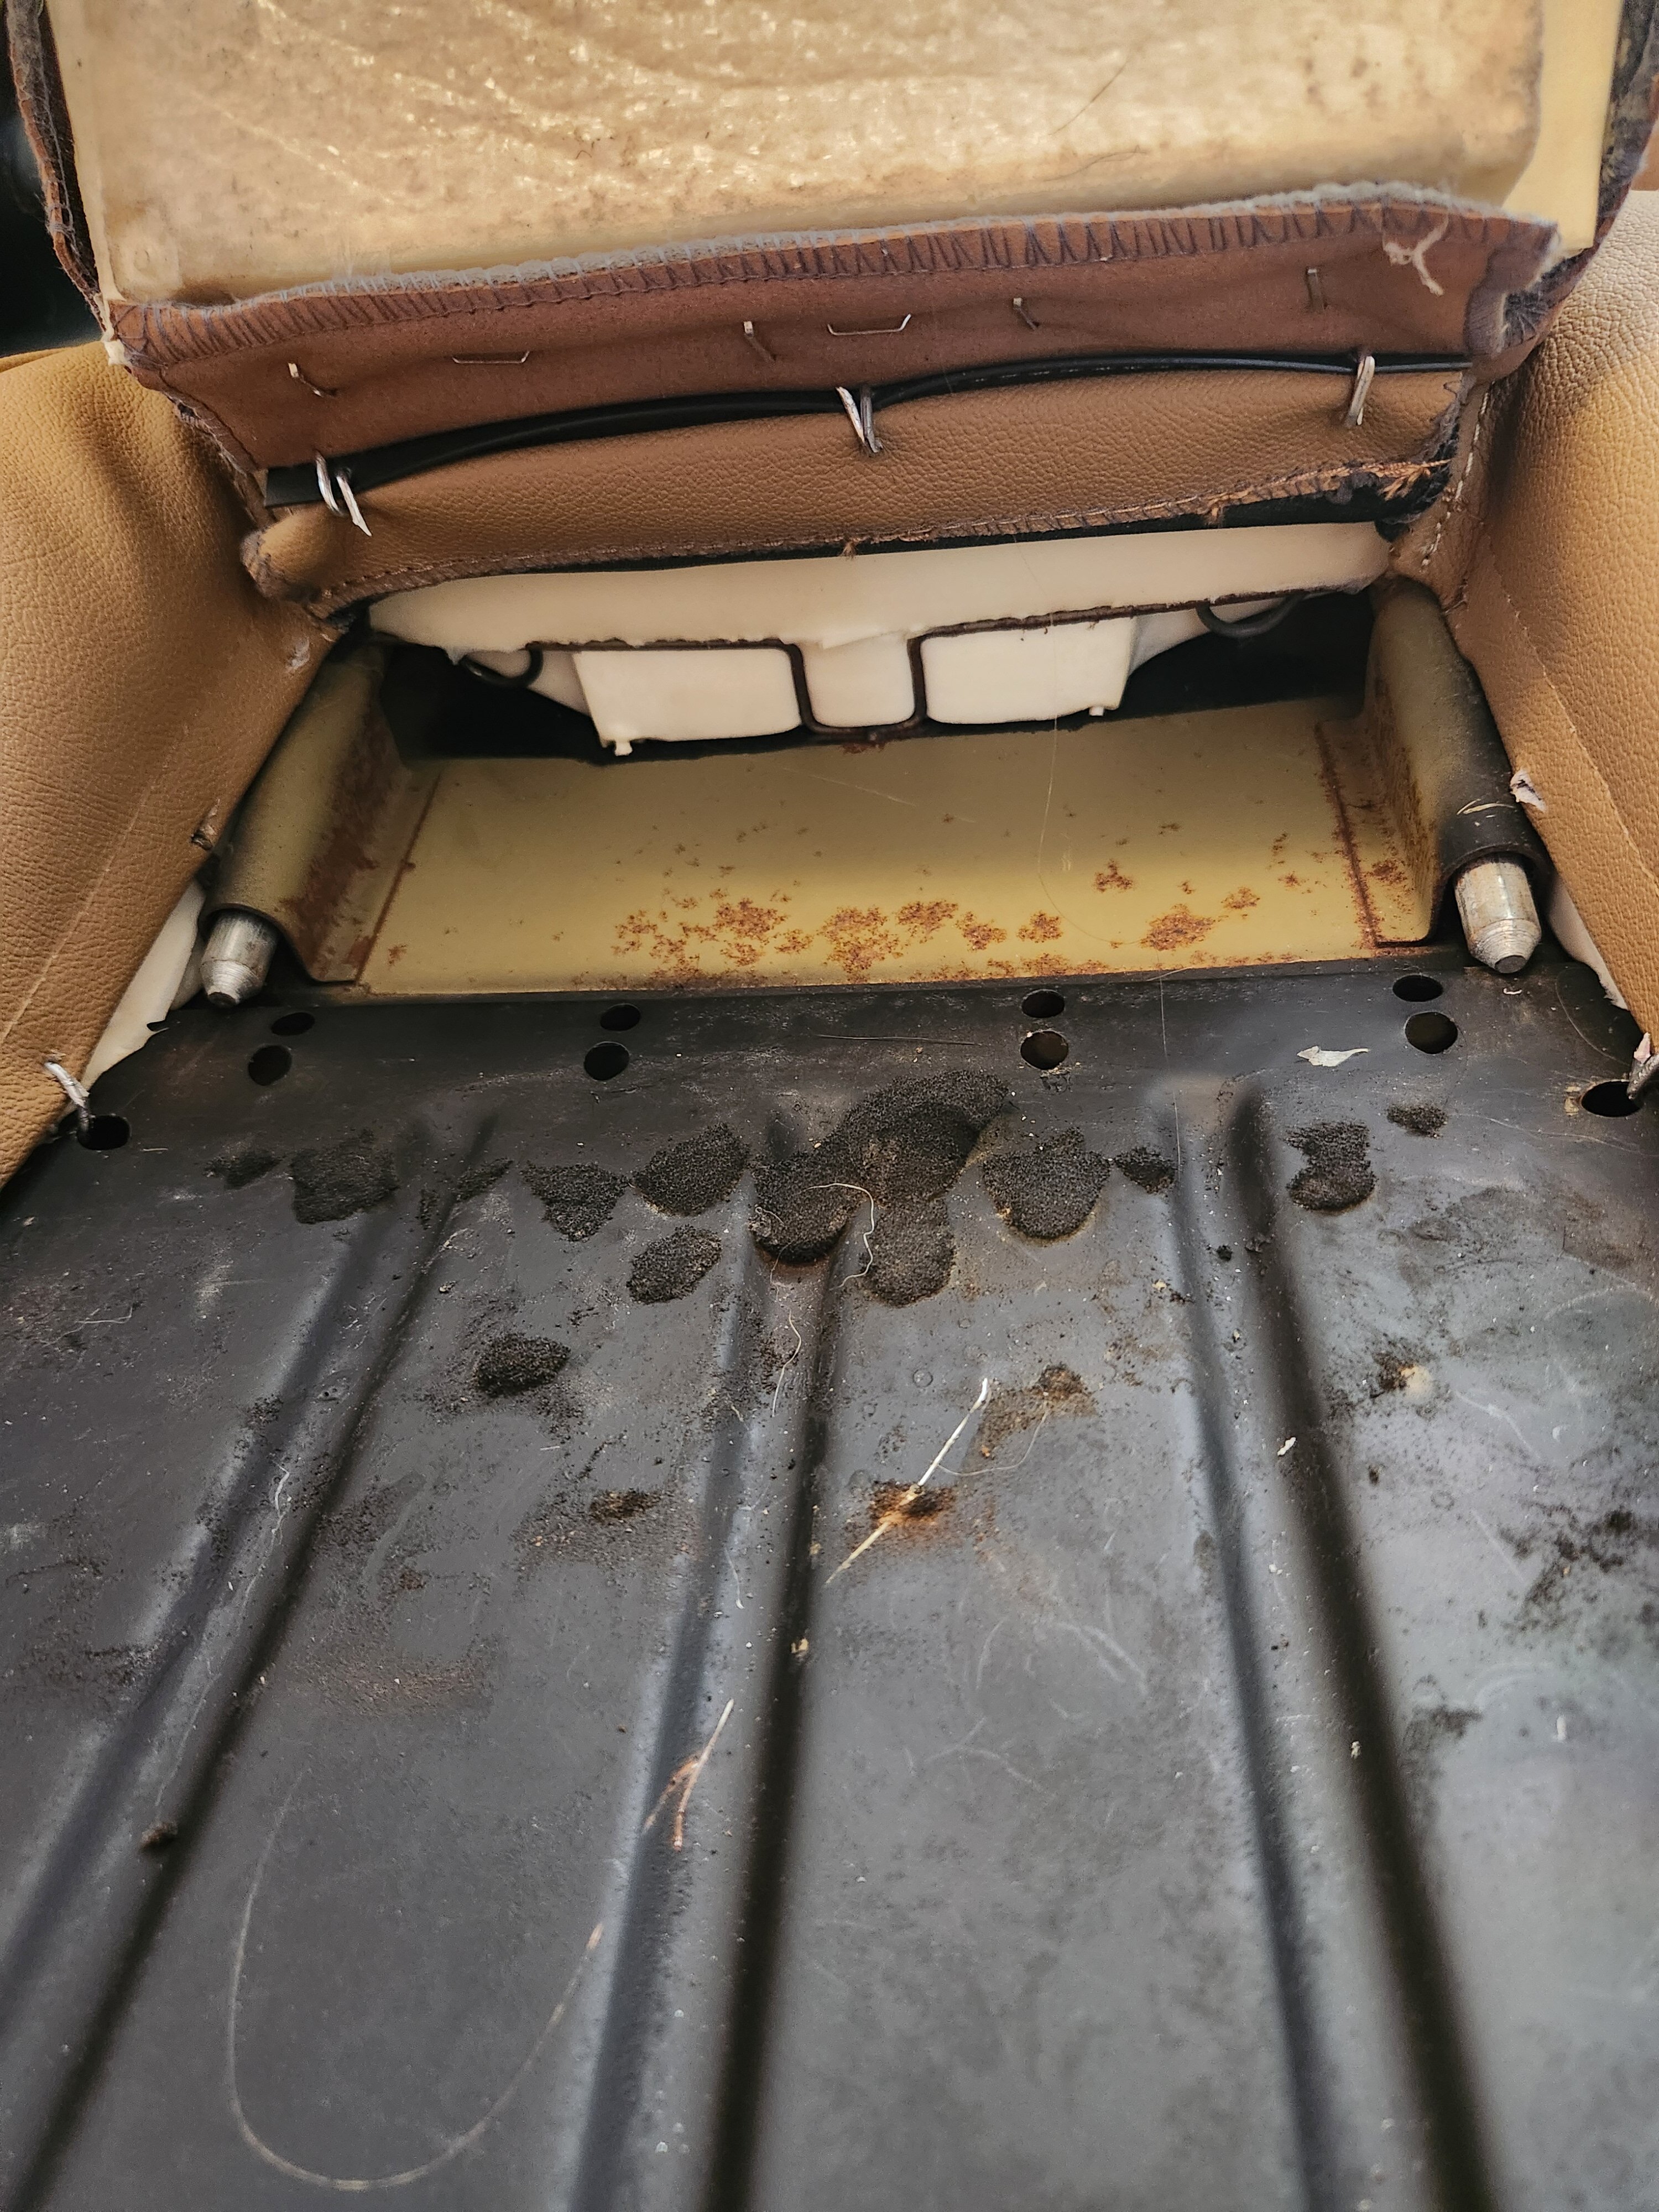
The seats arrived in Salt Lake City, and I drove to pick them up at the other guy's house. After getting them home, I was able to get a good look at their condition. Much to my dismay, one of the seats had a LOT of rust. After going back to the internet pics from the wrecking yard, it was revealed that the passenger window was missing, likely for years.


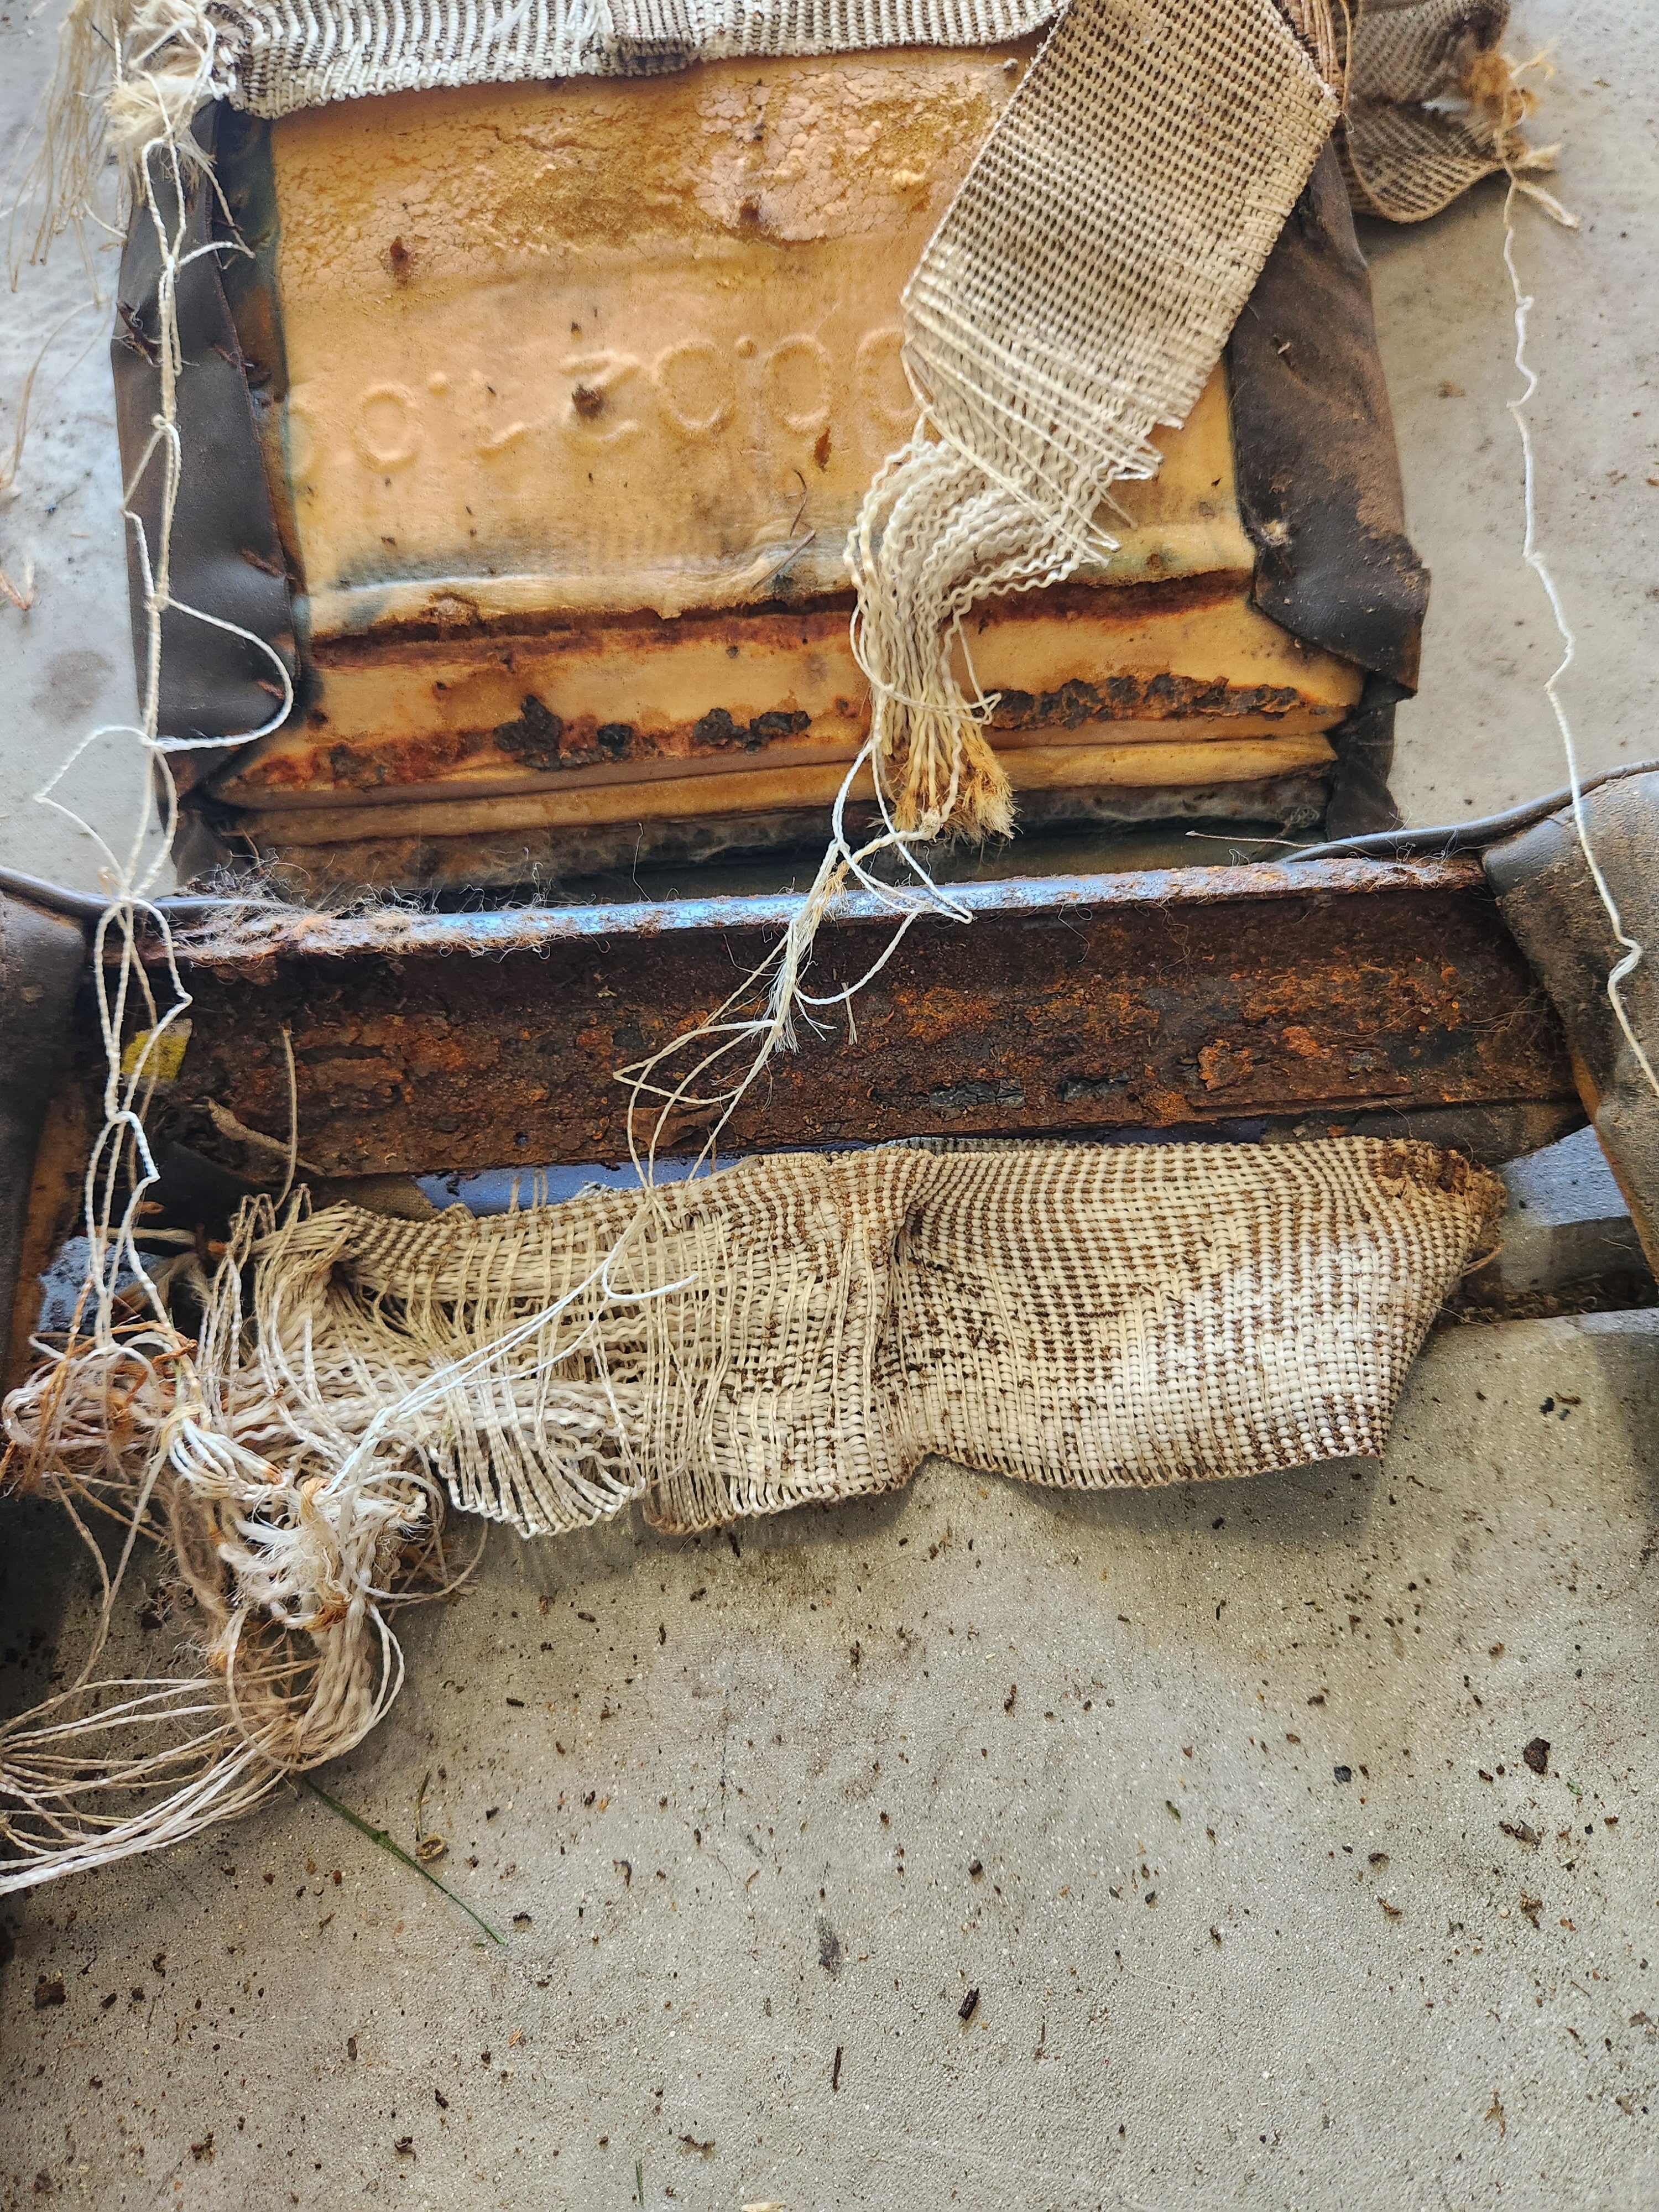


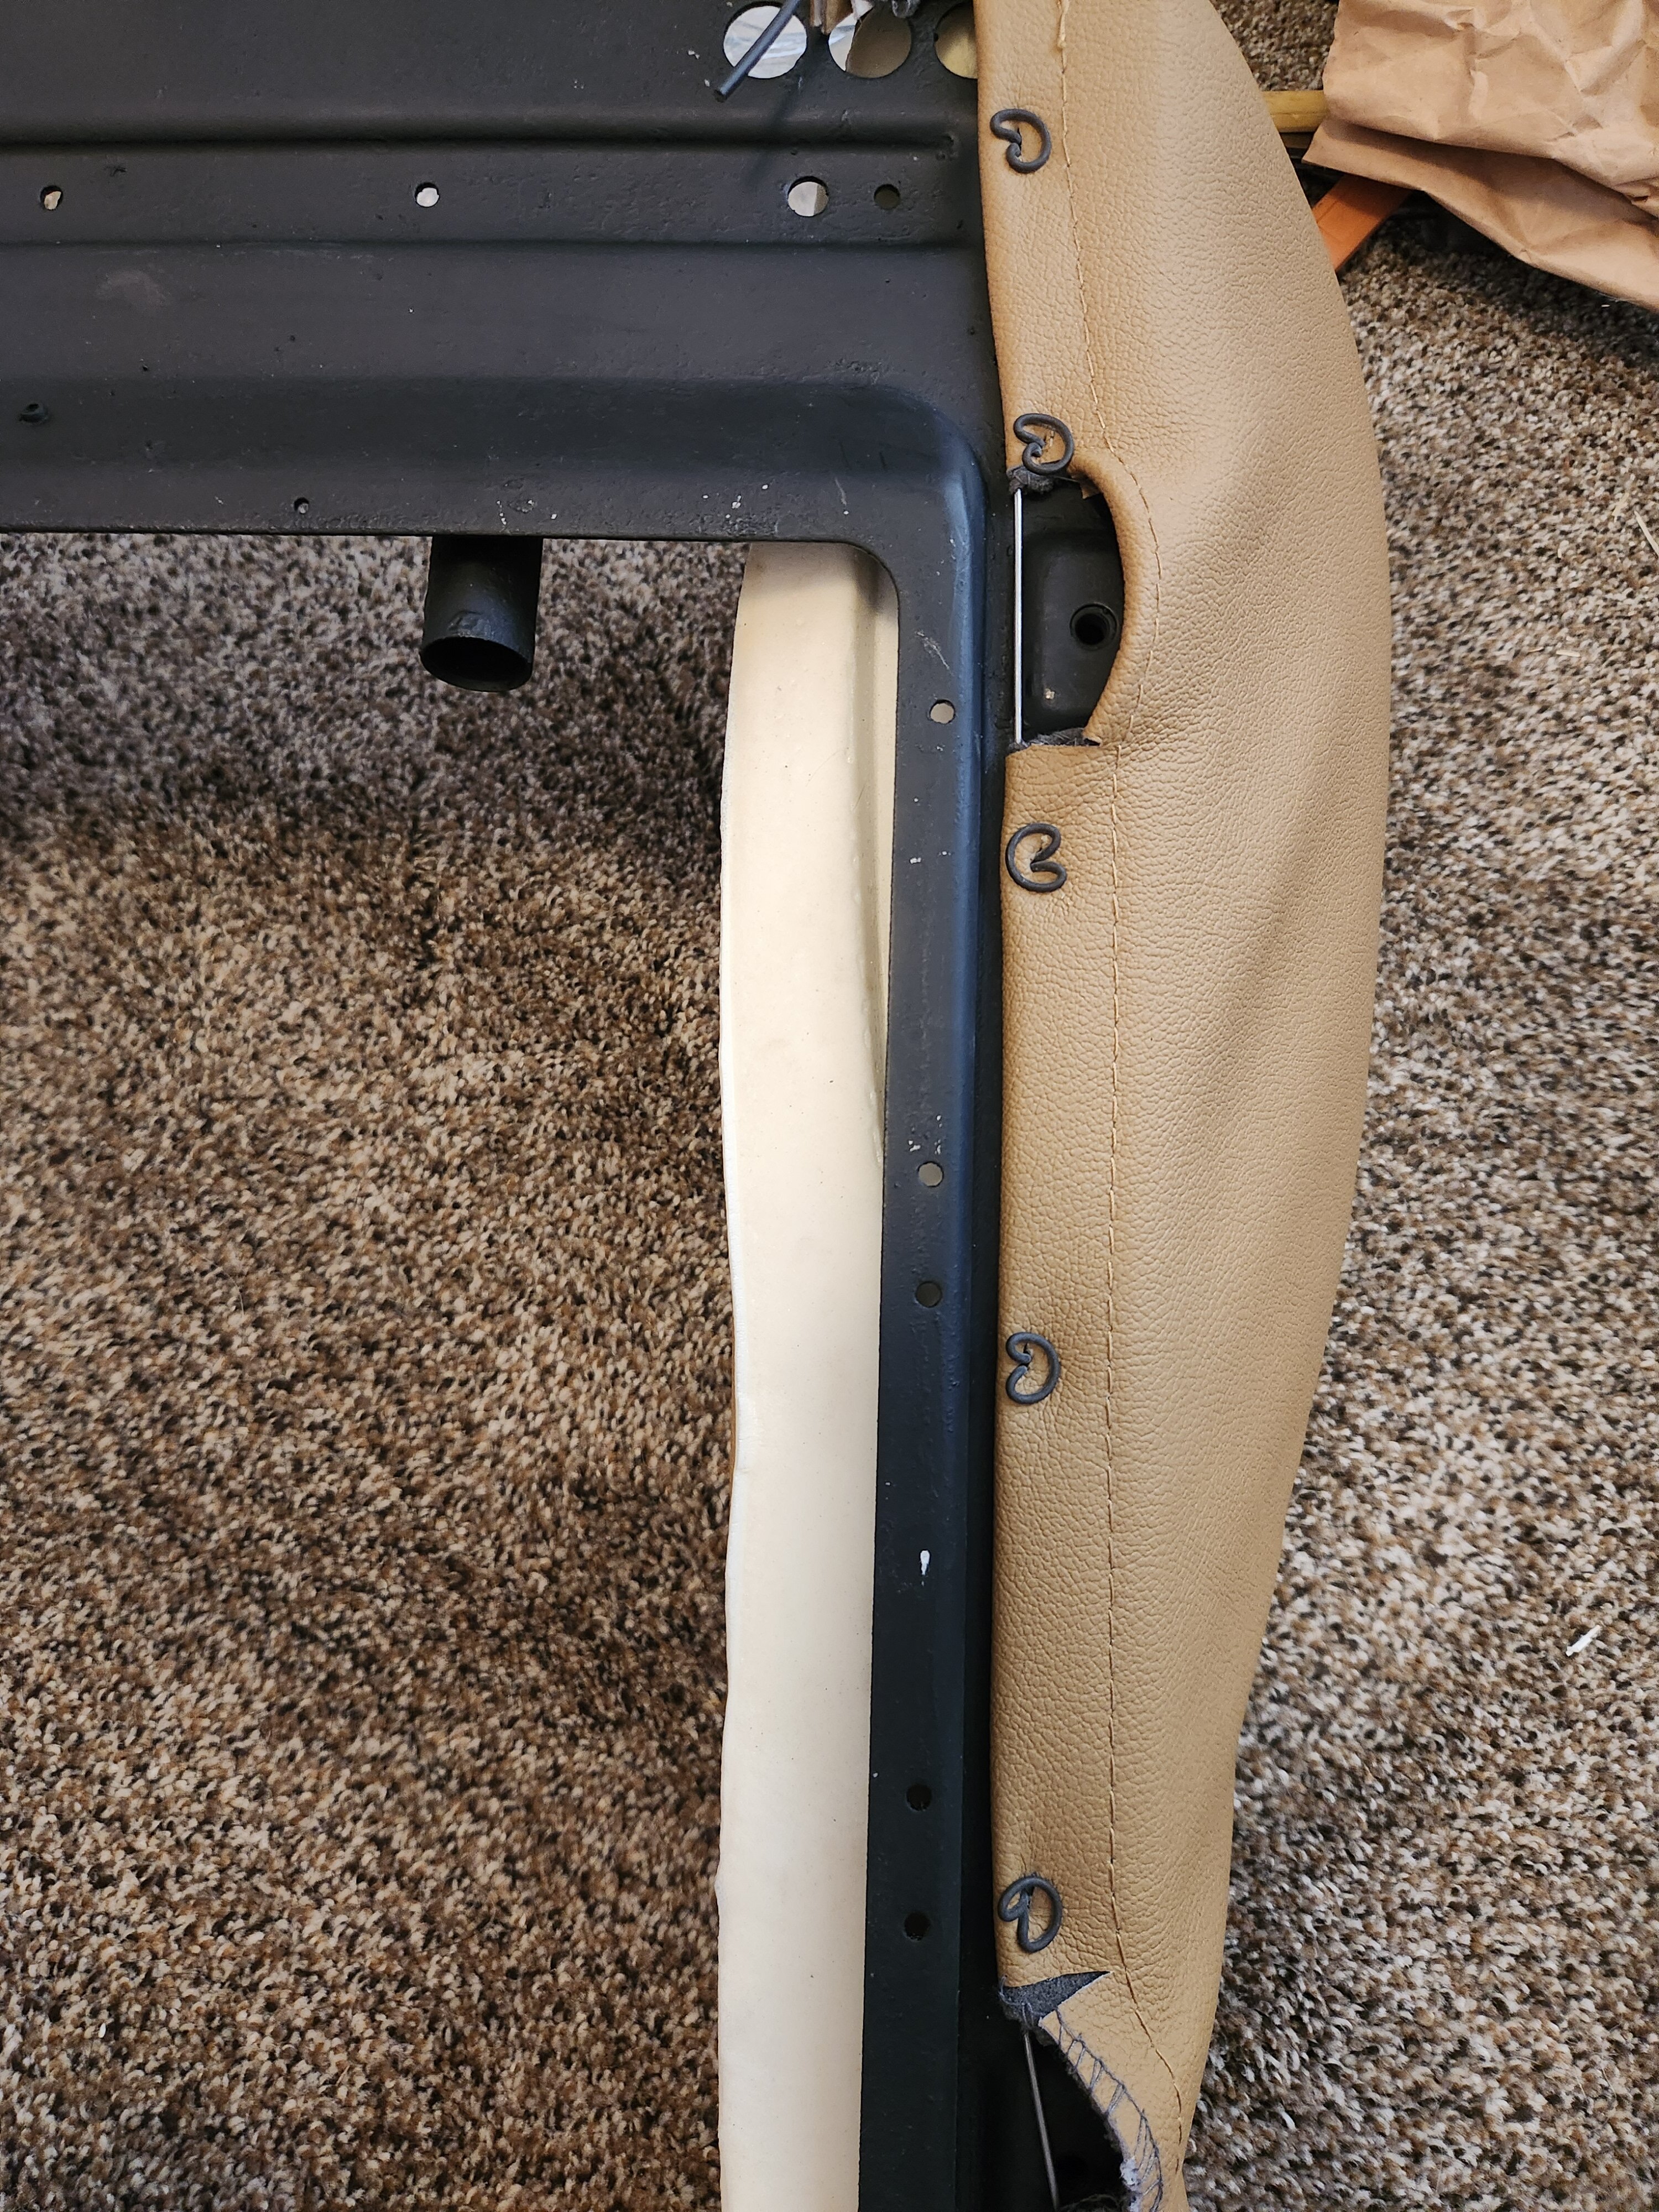
I disassembled the seats and took lots of pics to document how they would go back together. The donor car was a 12/76 production date, very early for E21 Recaro seats. There are a few subtle differences, most of which indicate the simpler design of the earlier seats. The seat mounting brackets are different, just a simple "L" bracket the length of the seat. The seat back hinge and latching mechanisms have virtually no plastic covers. Other subtle differences with how the upholstery attaches to the frame.
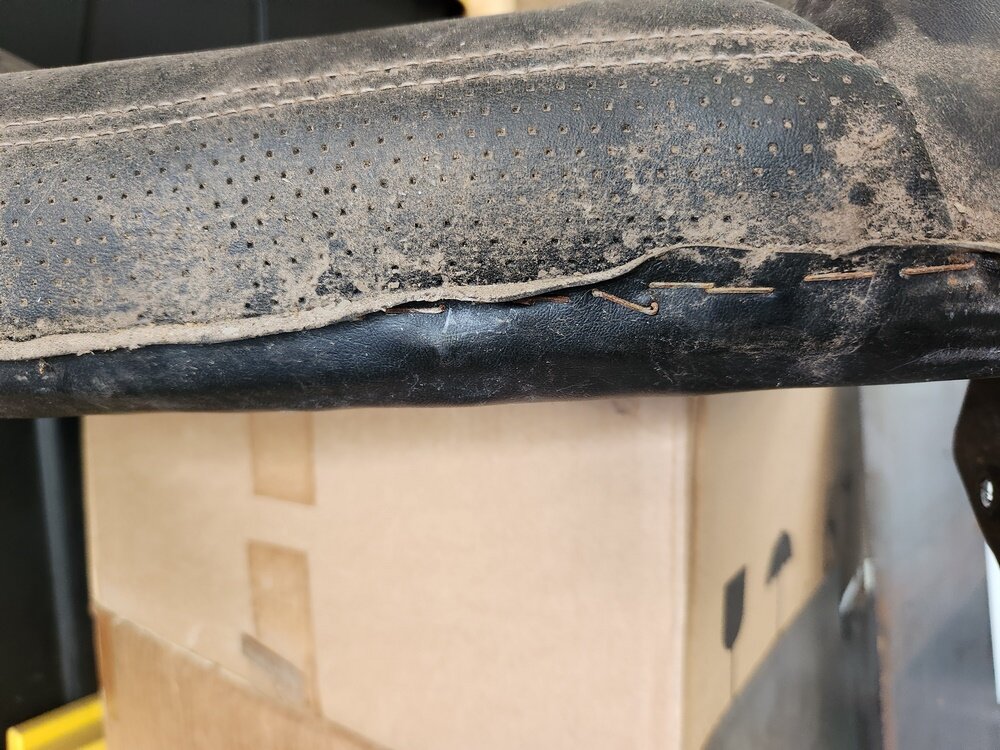
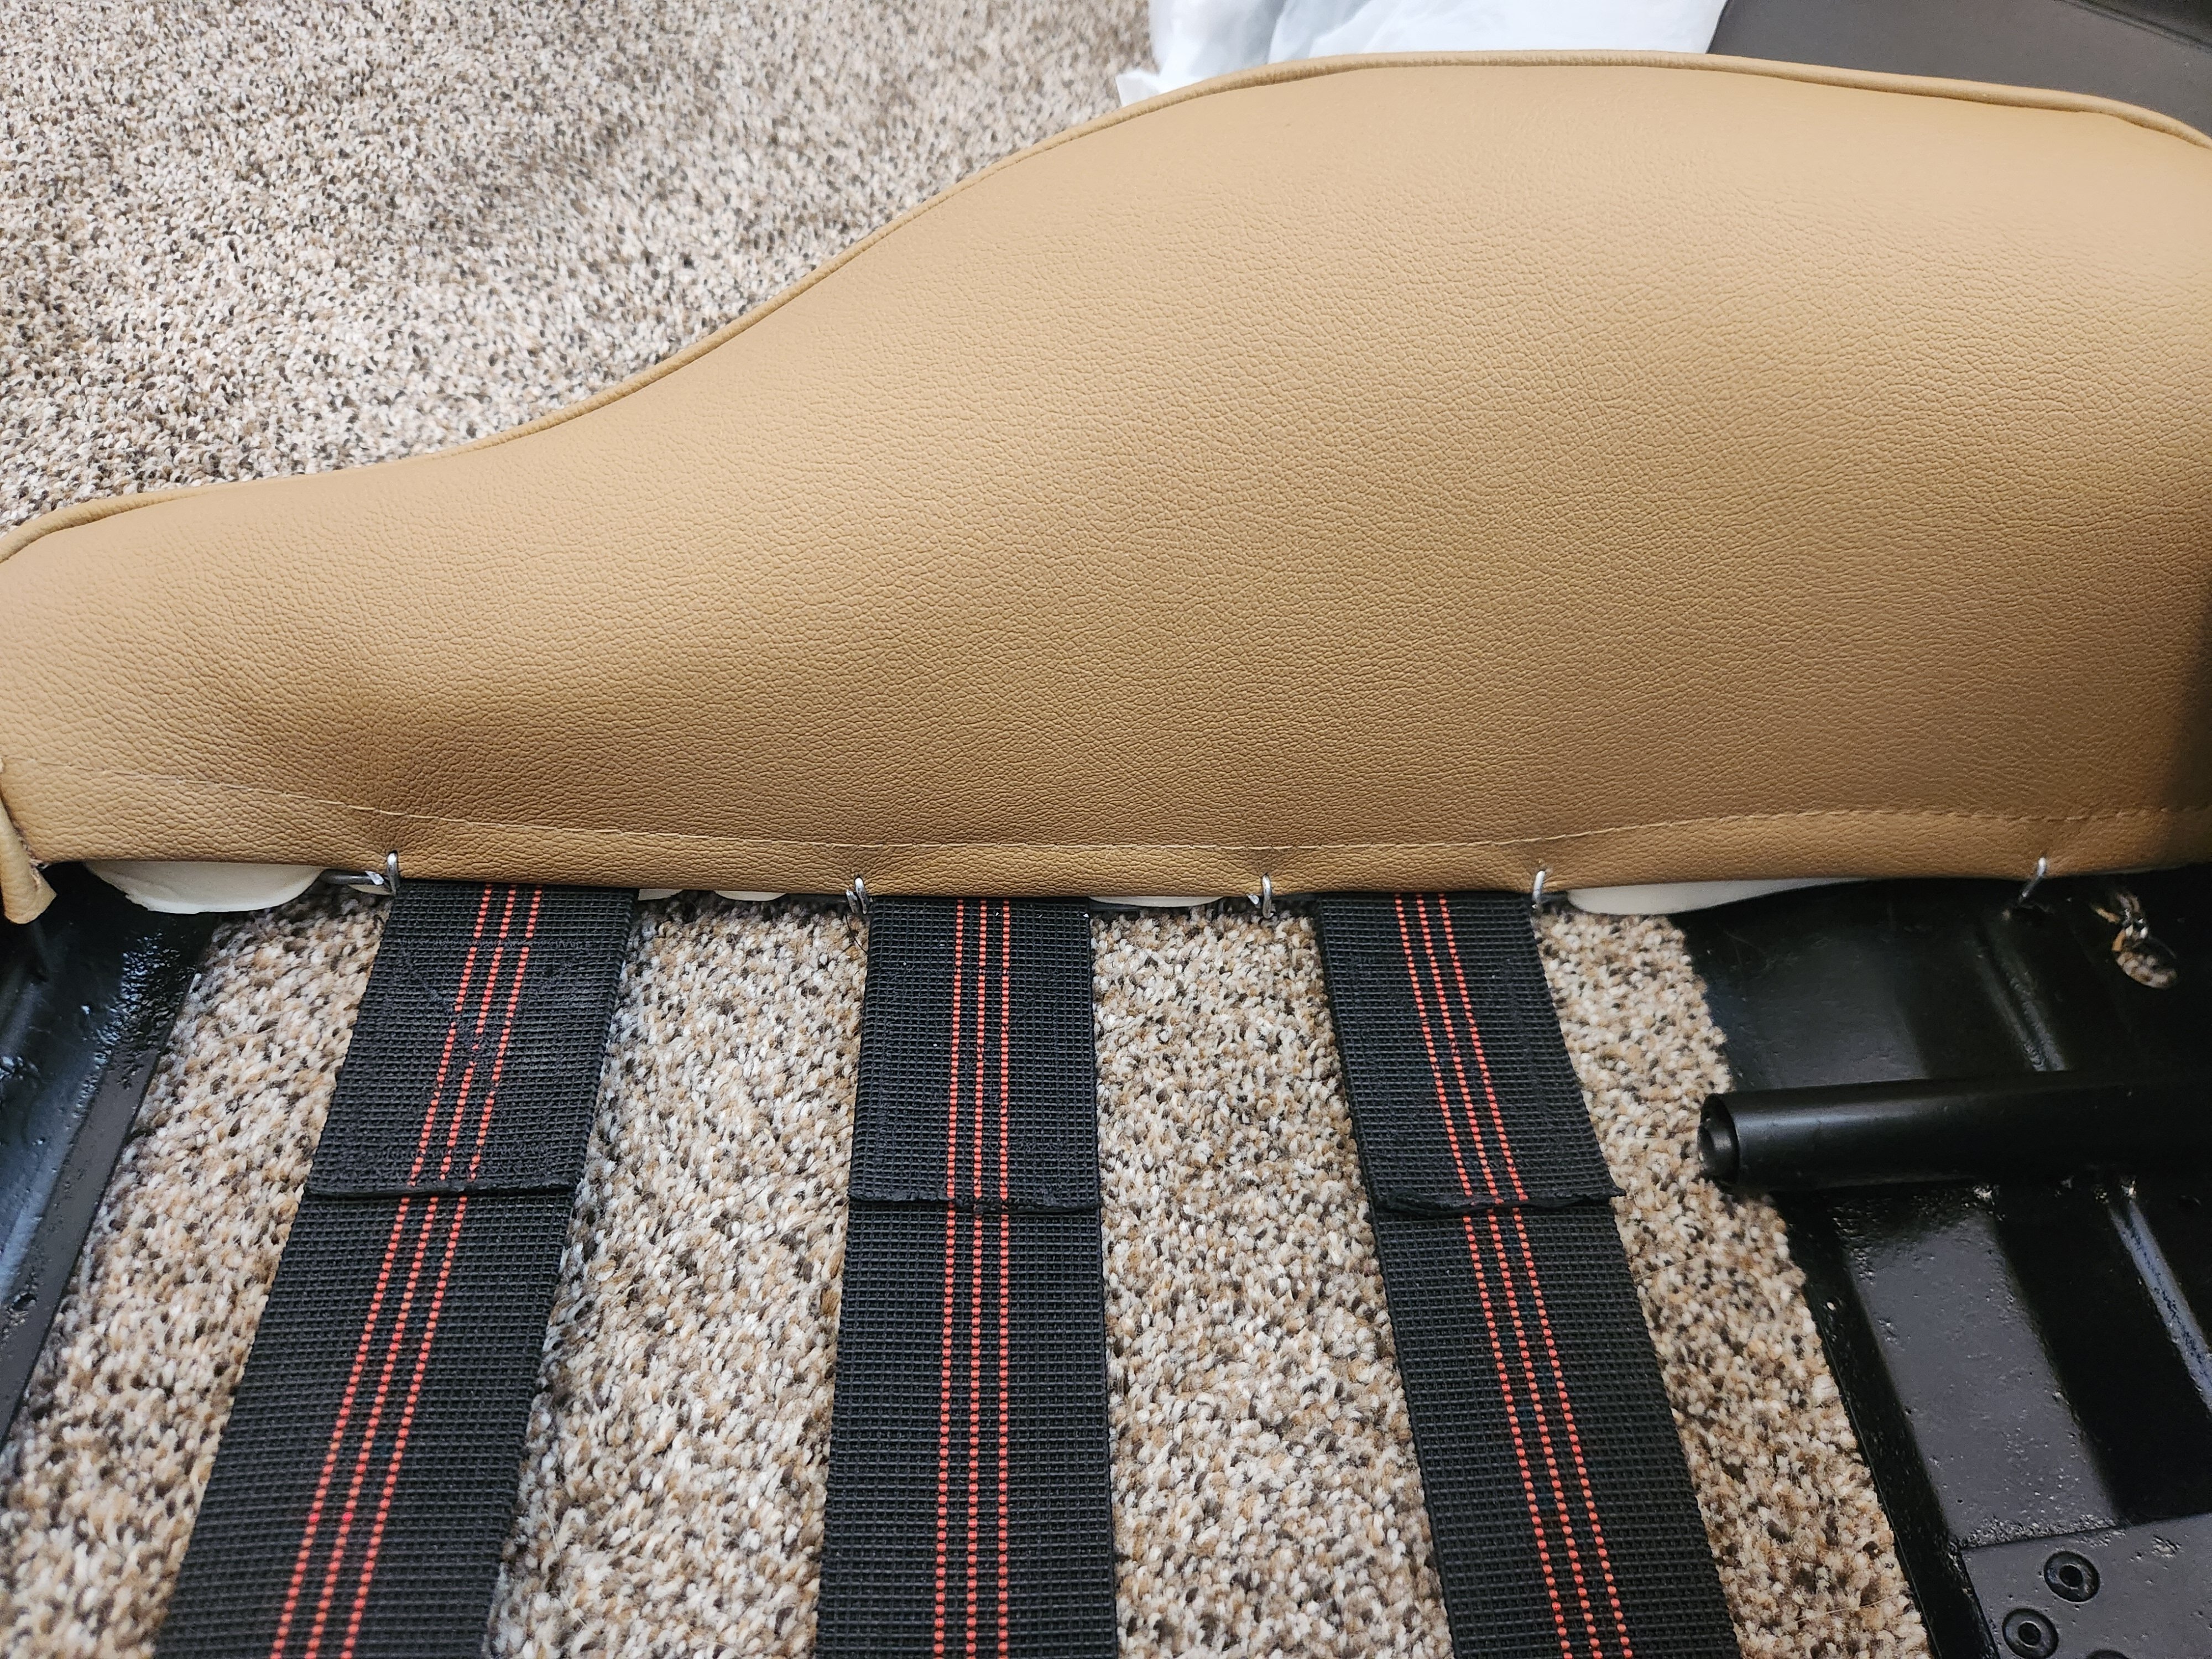
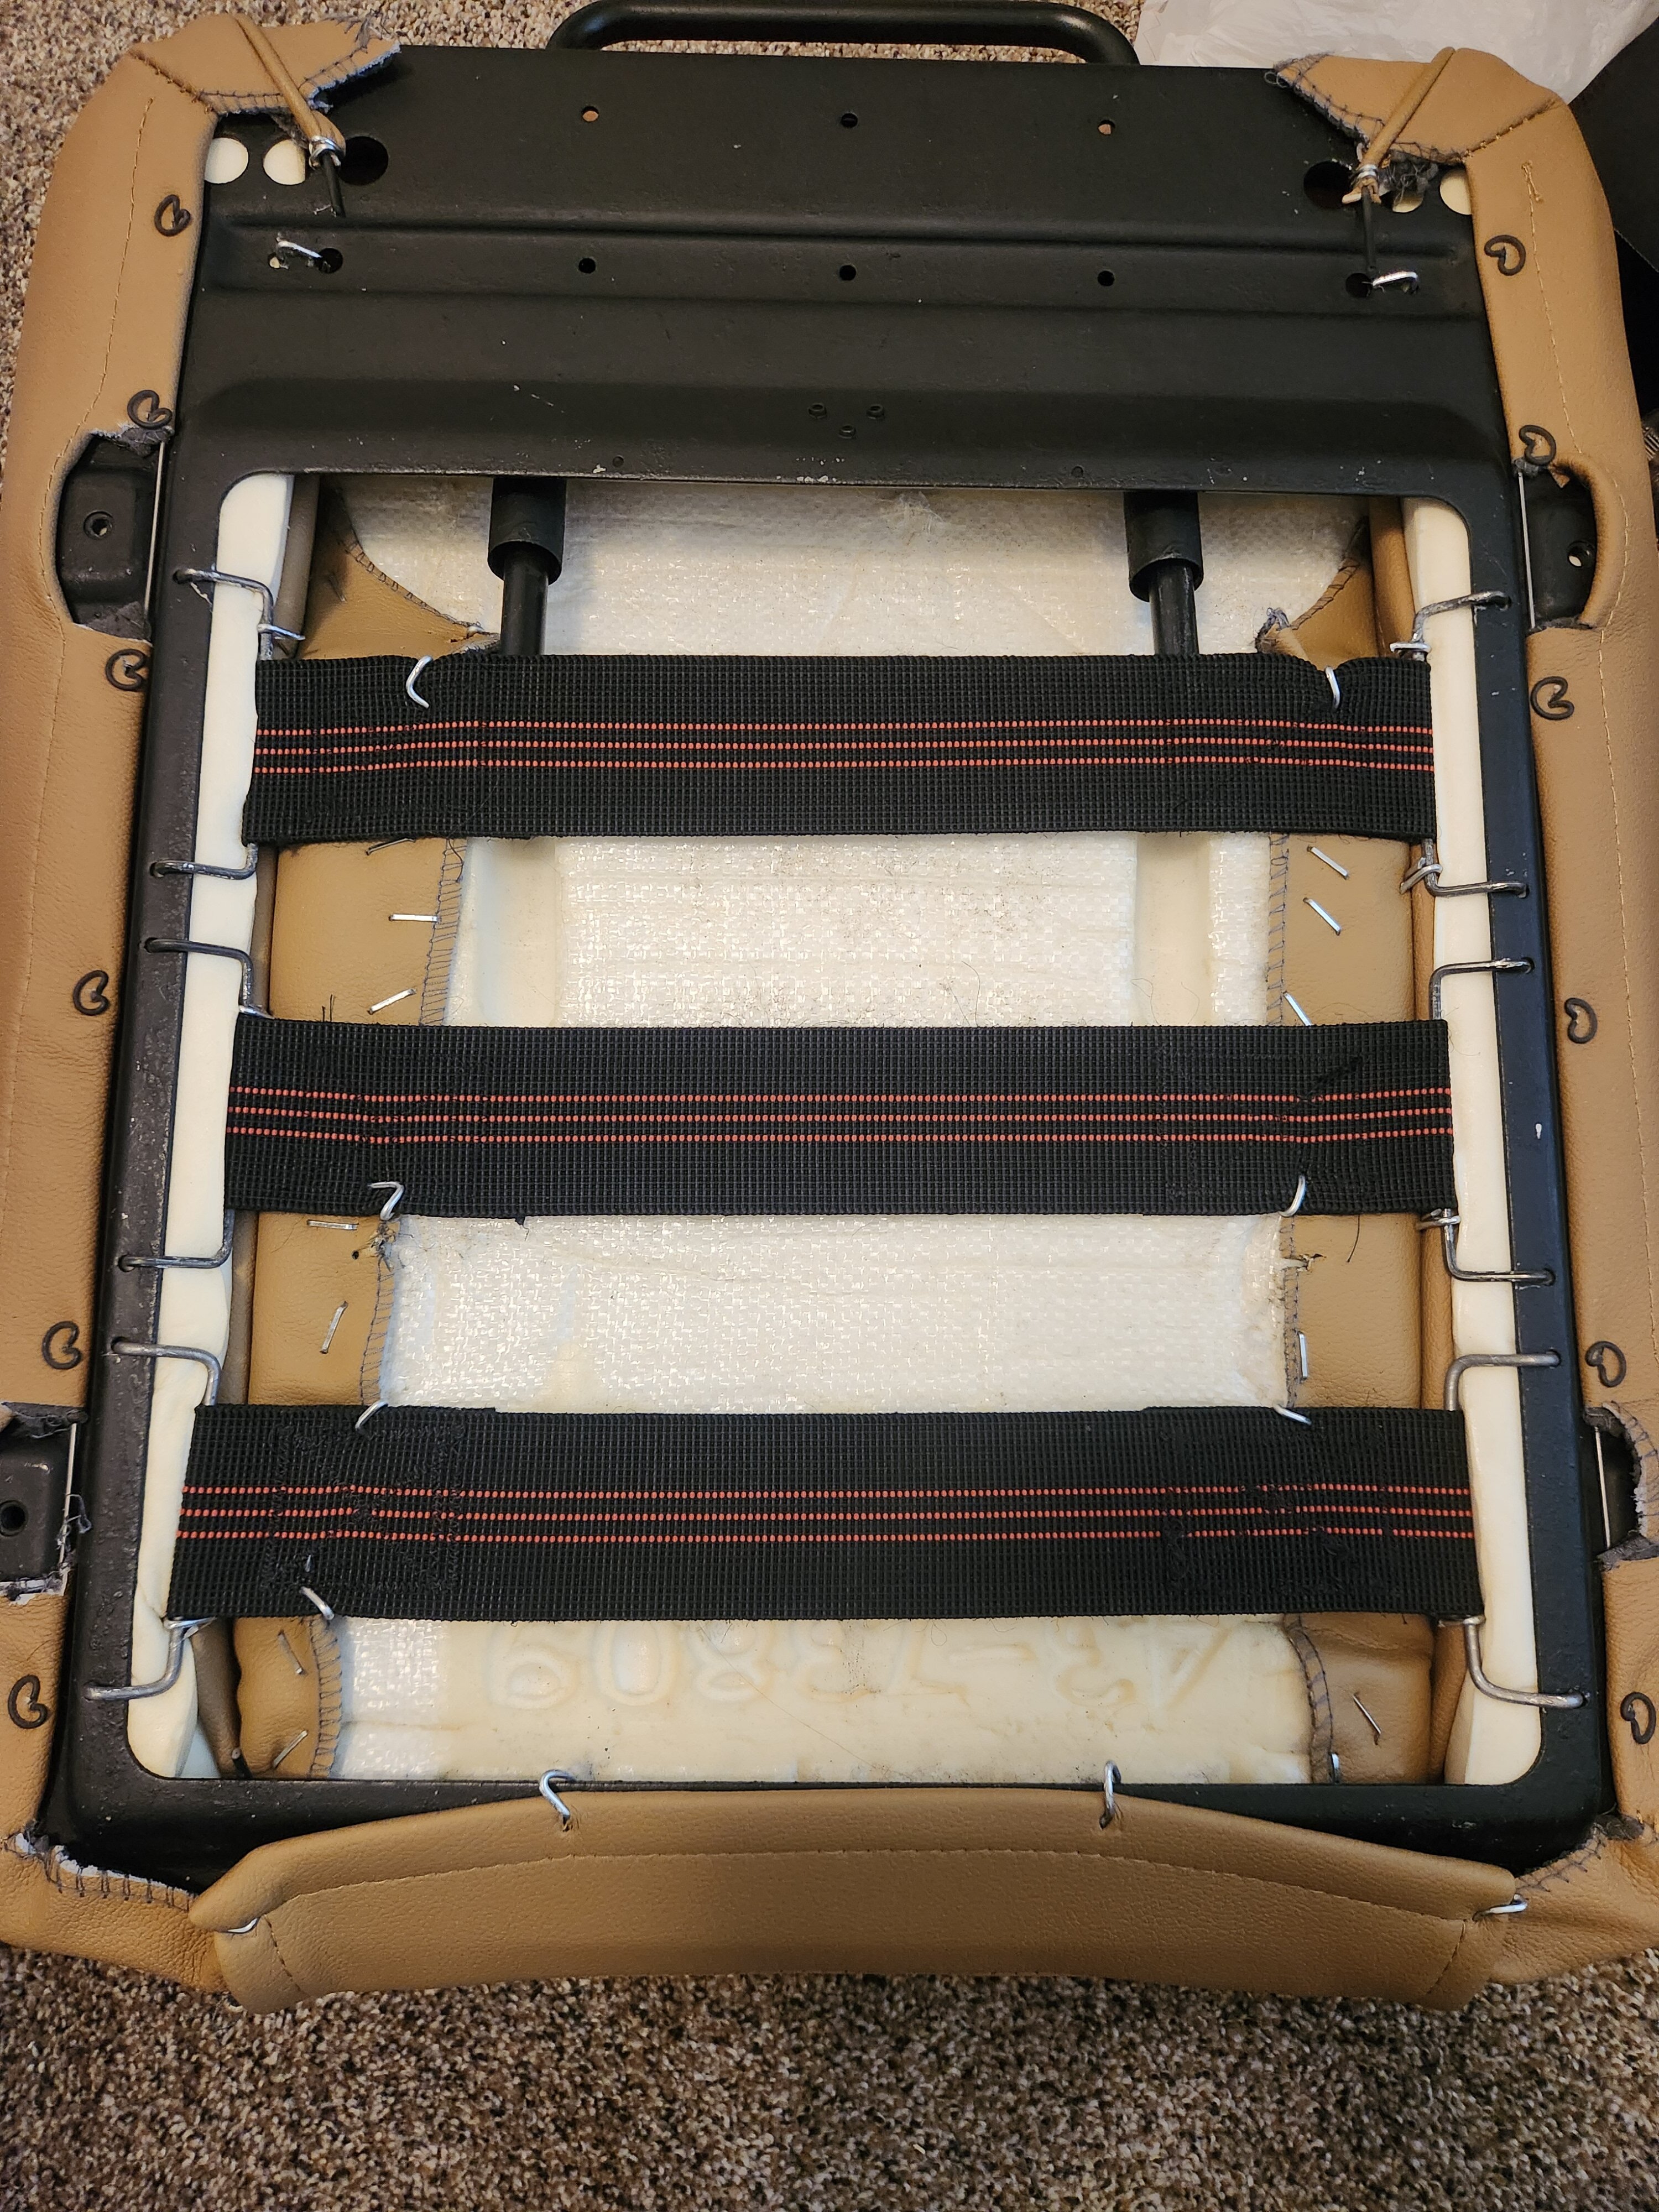
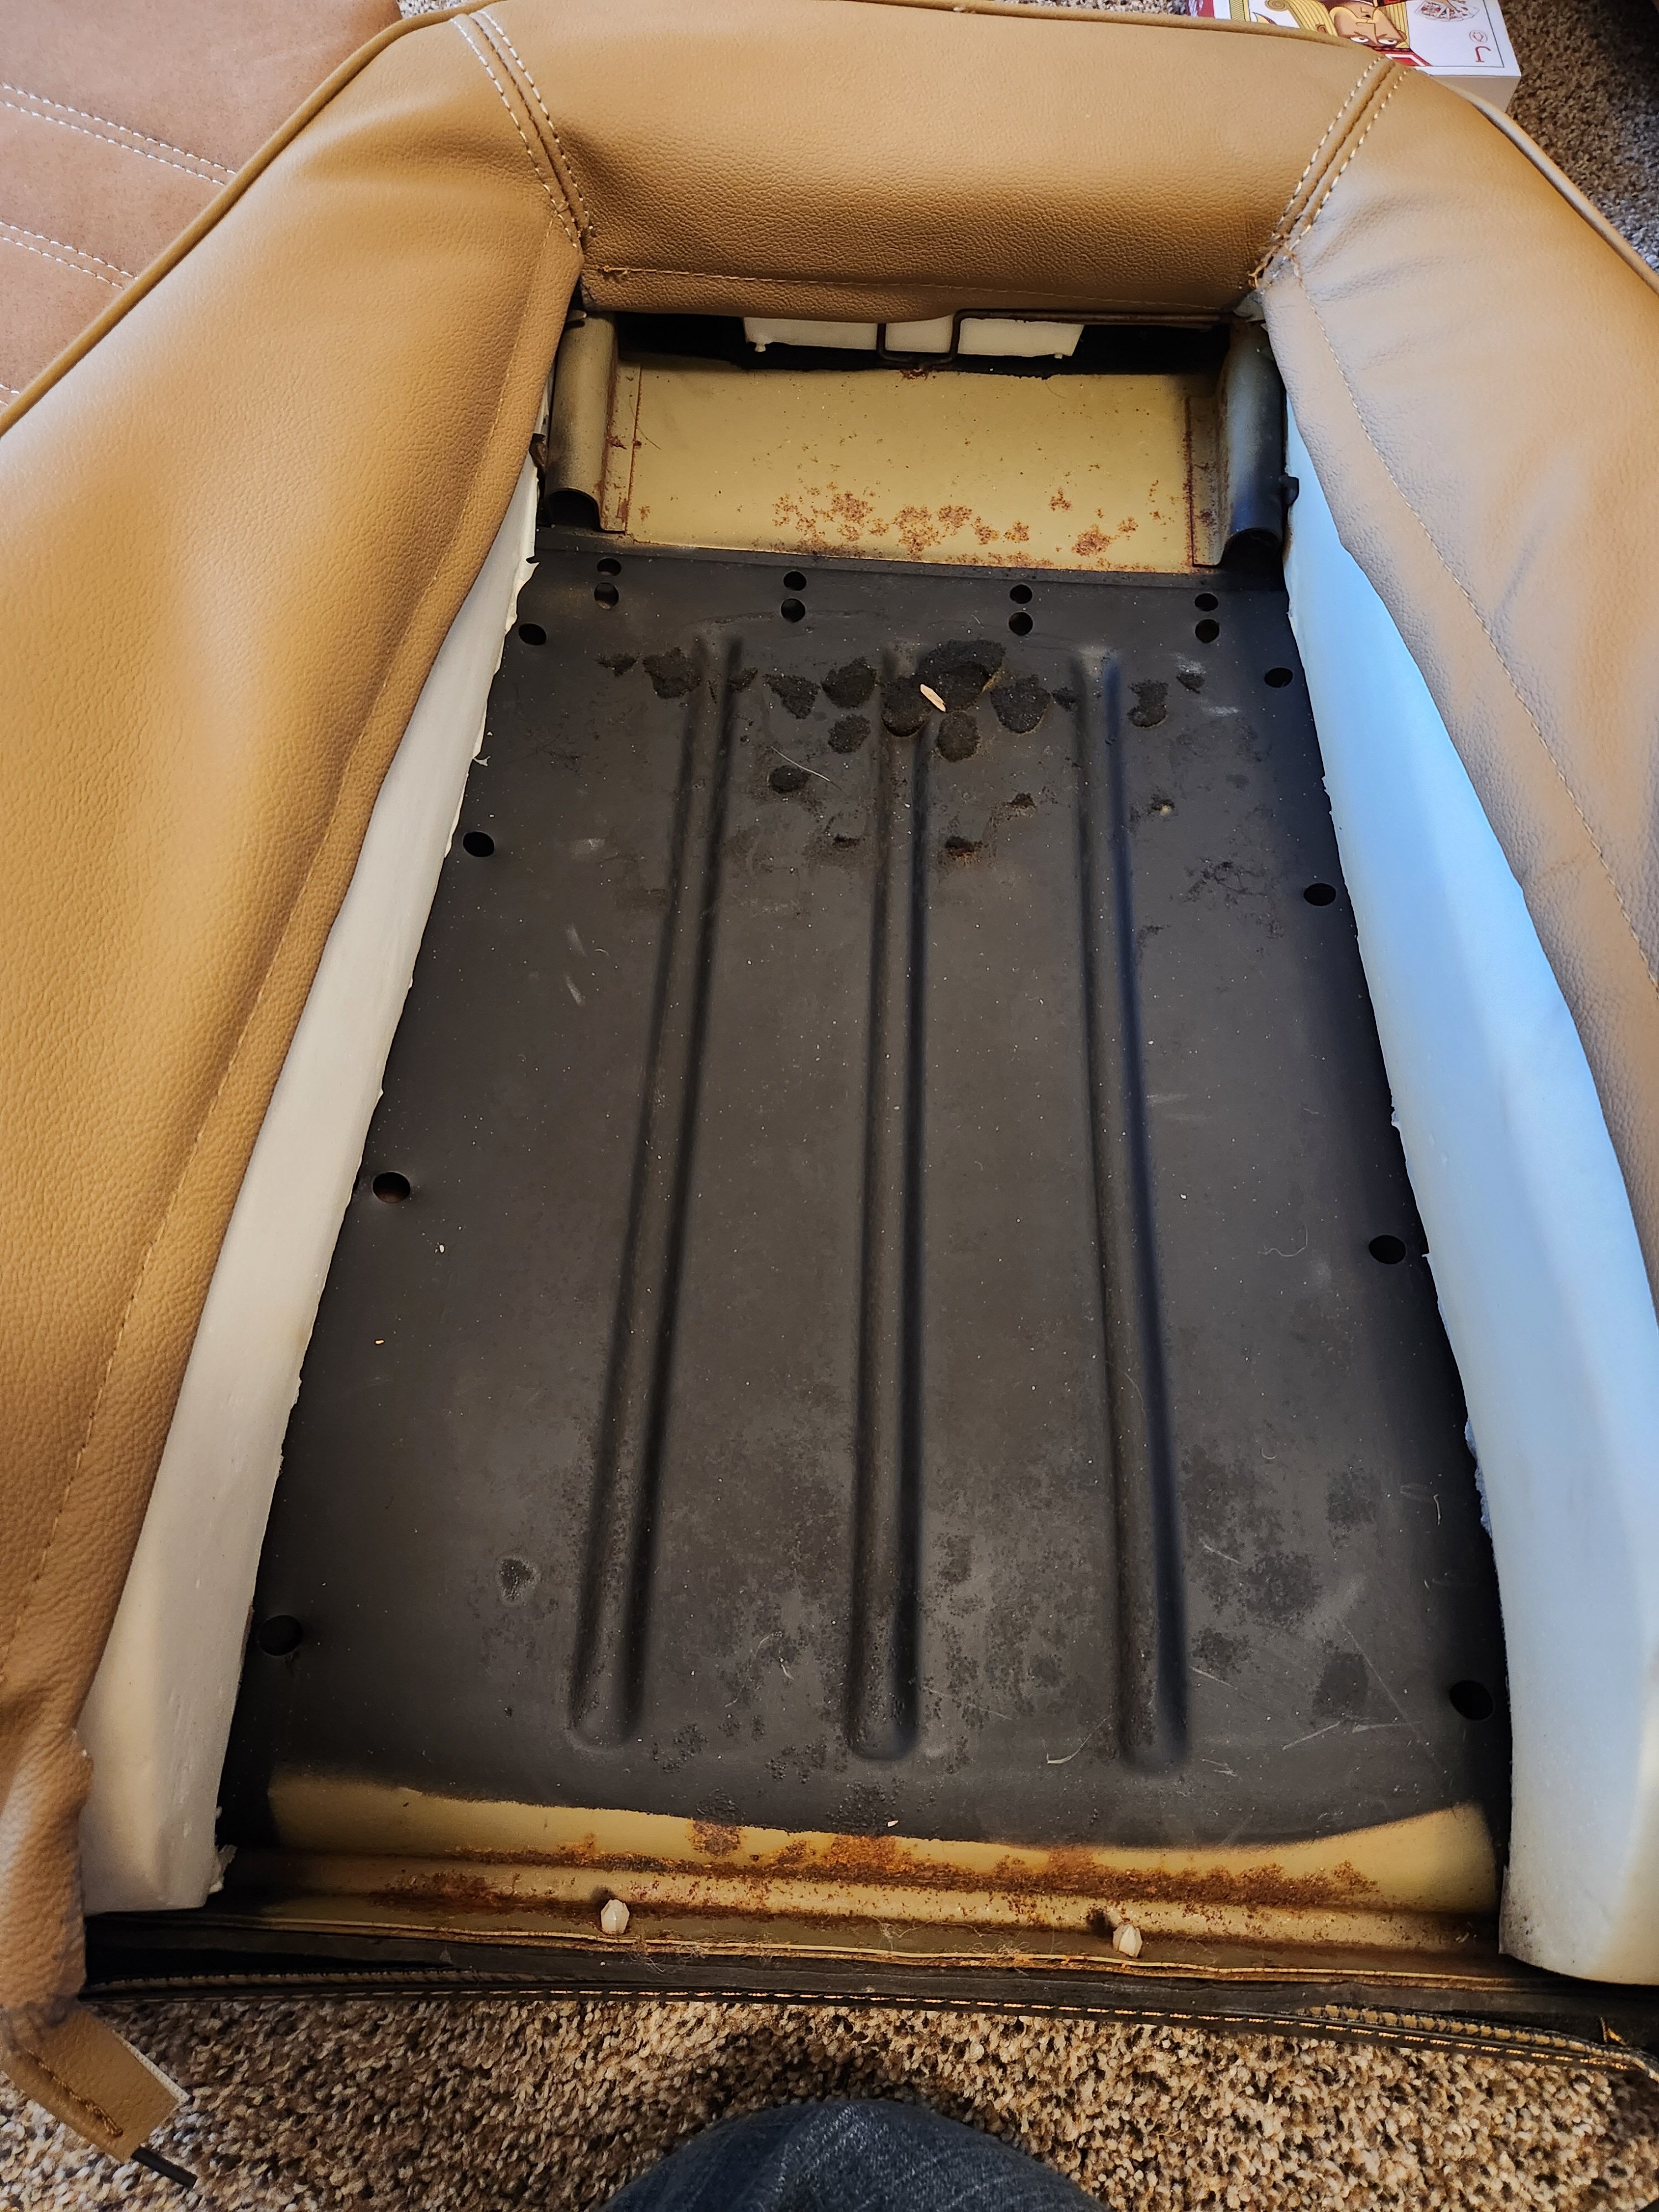
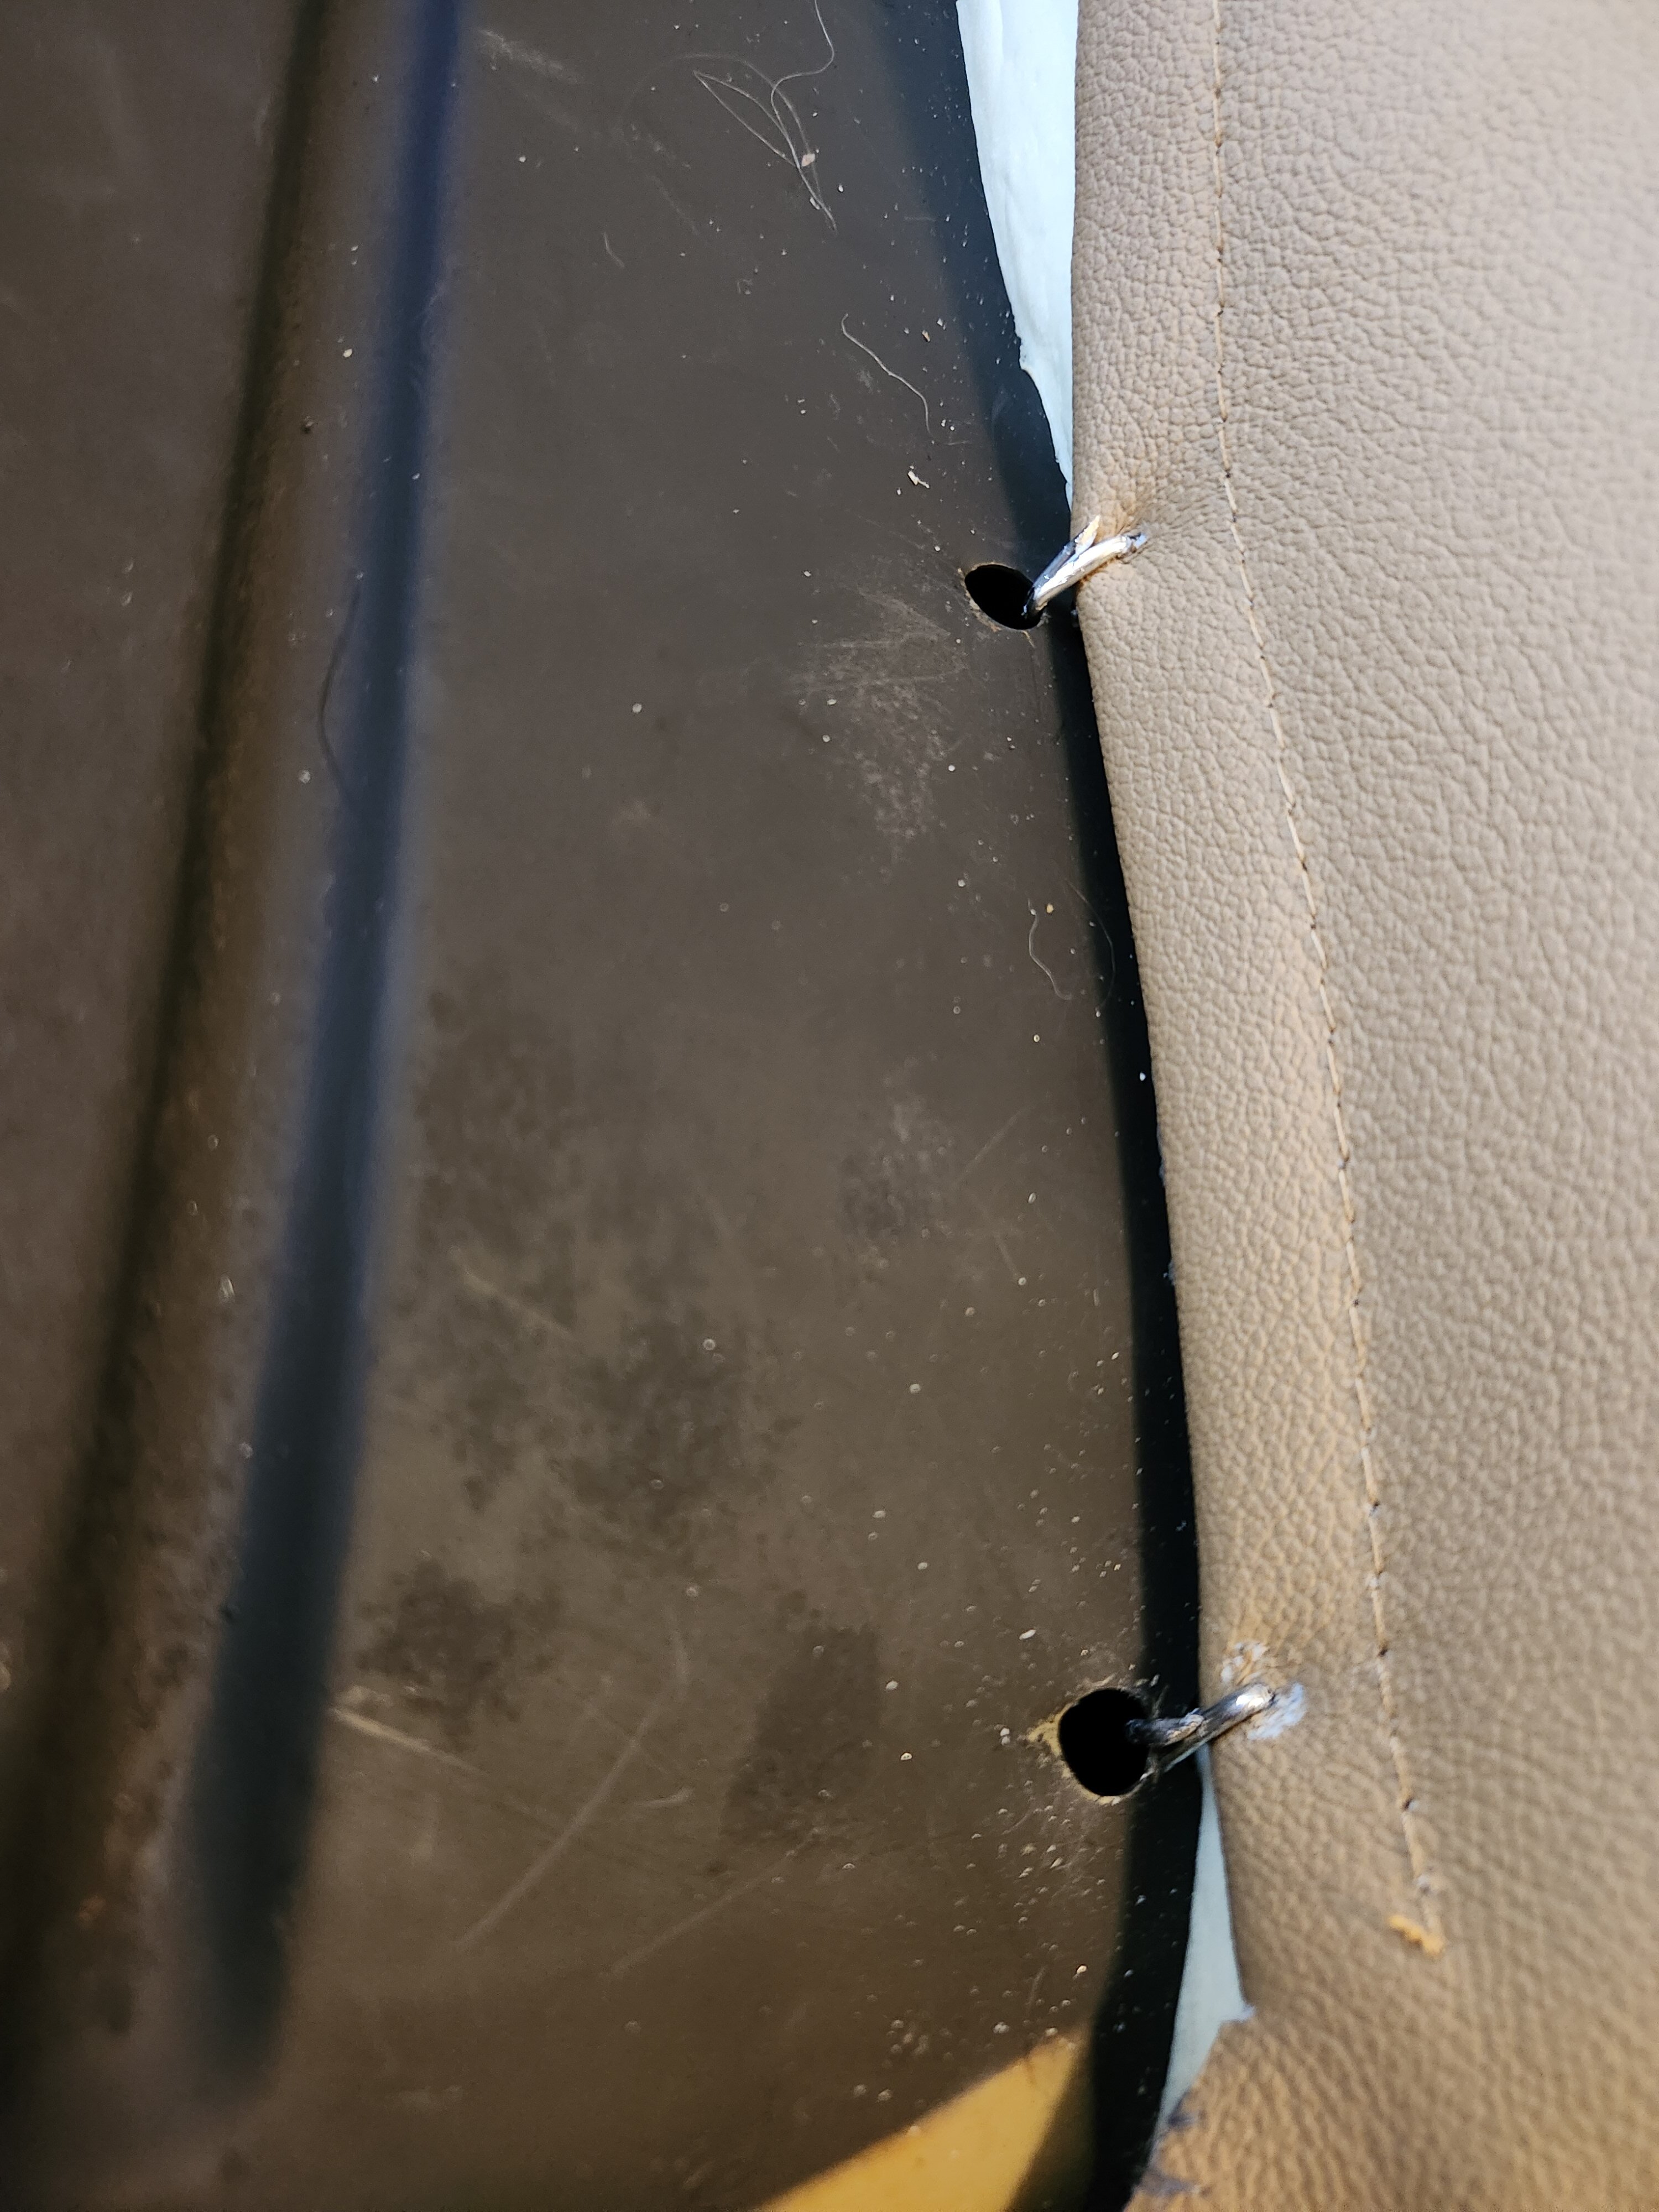
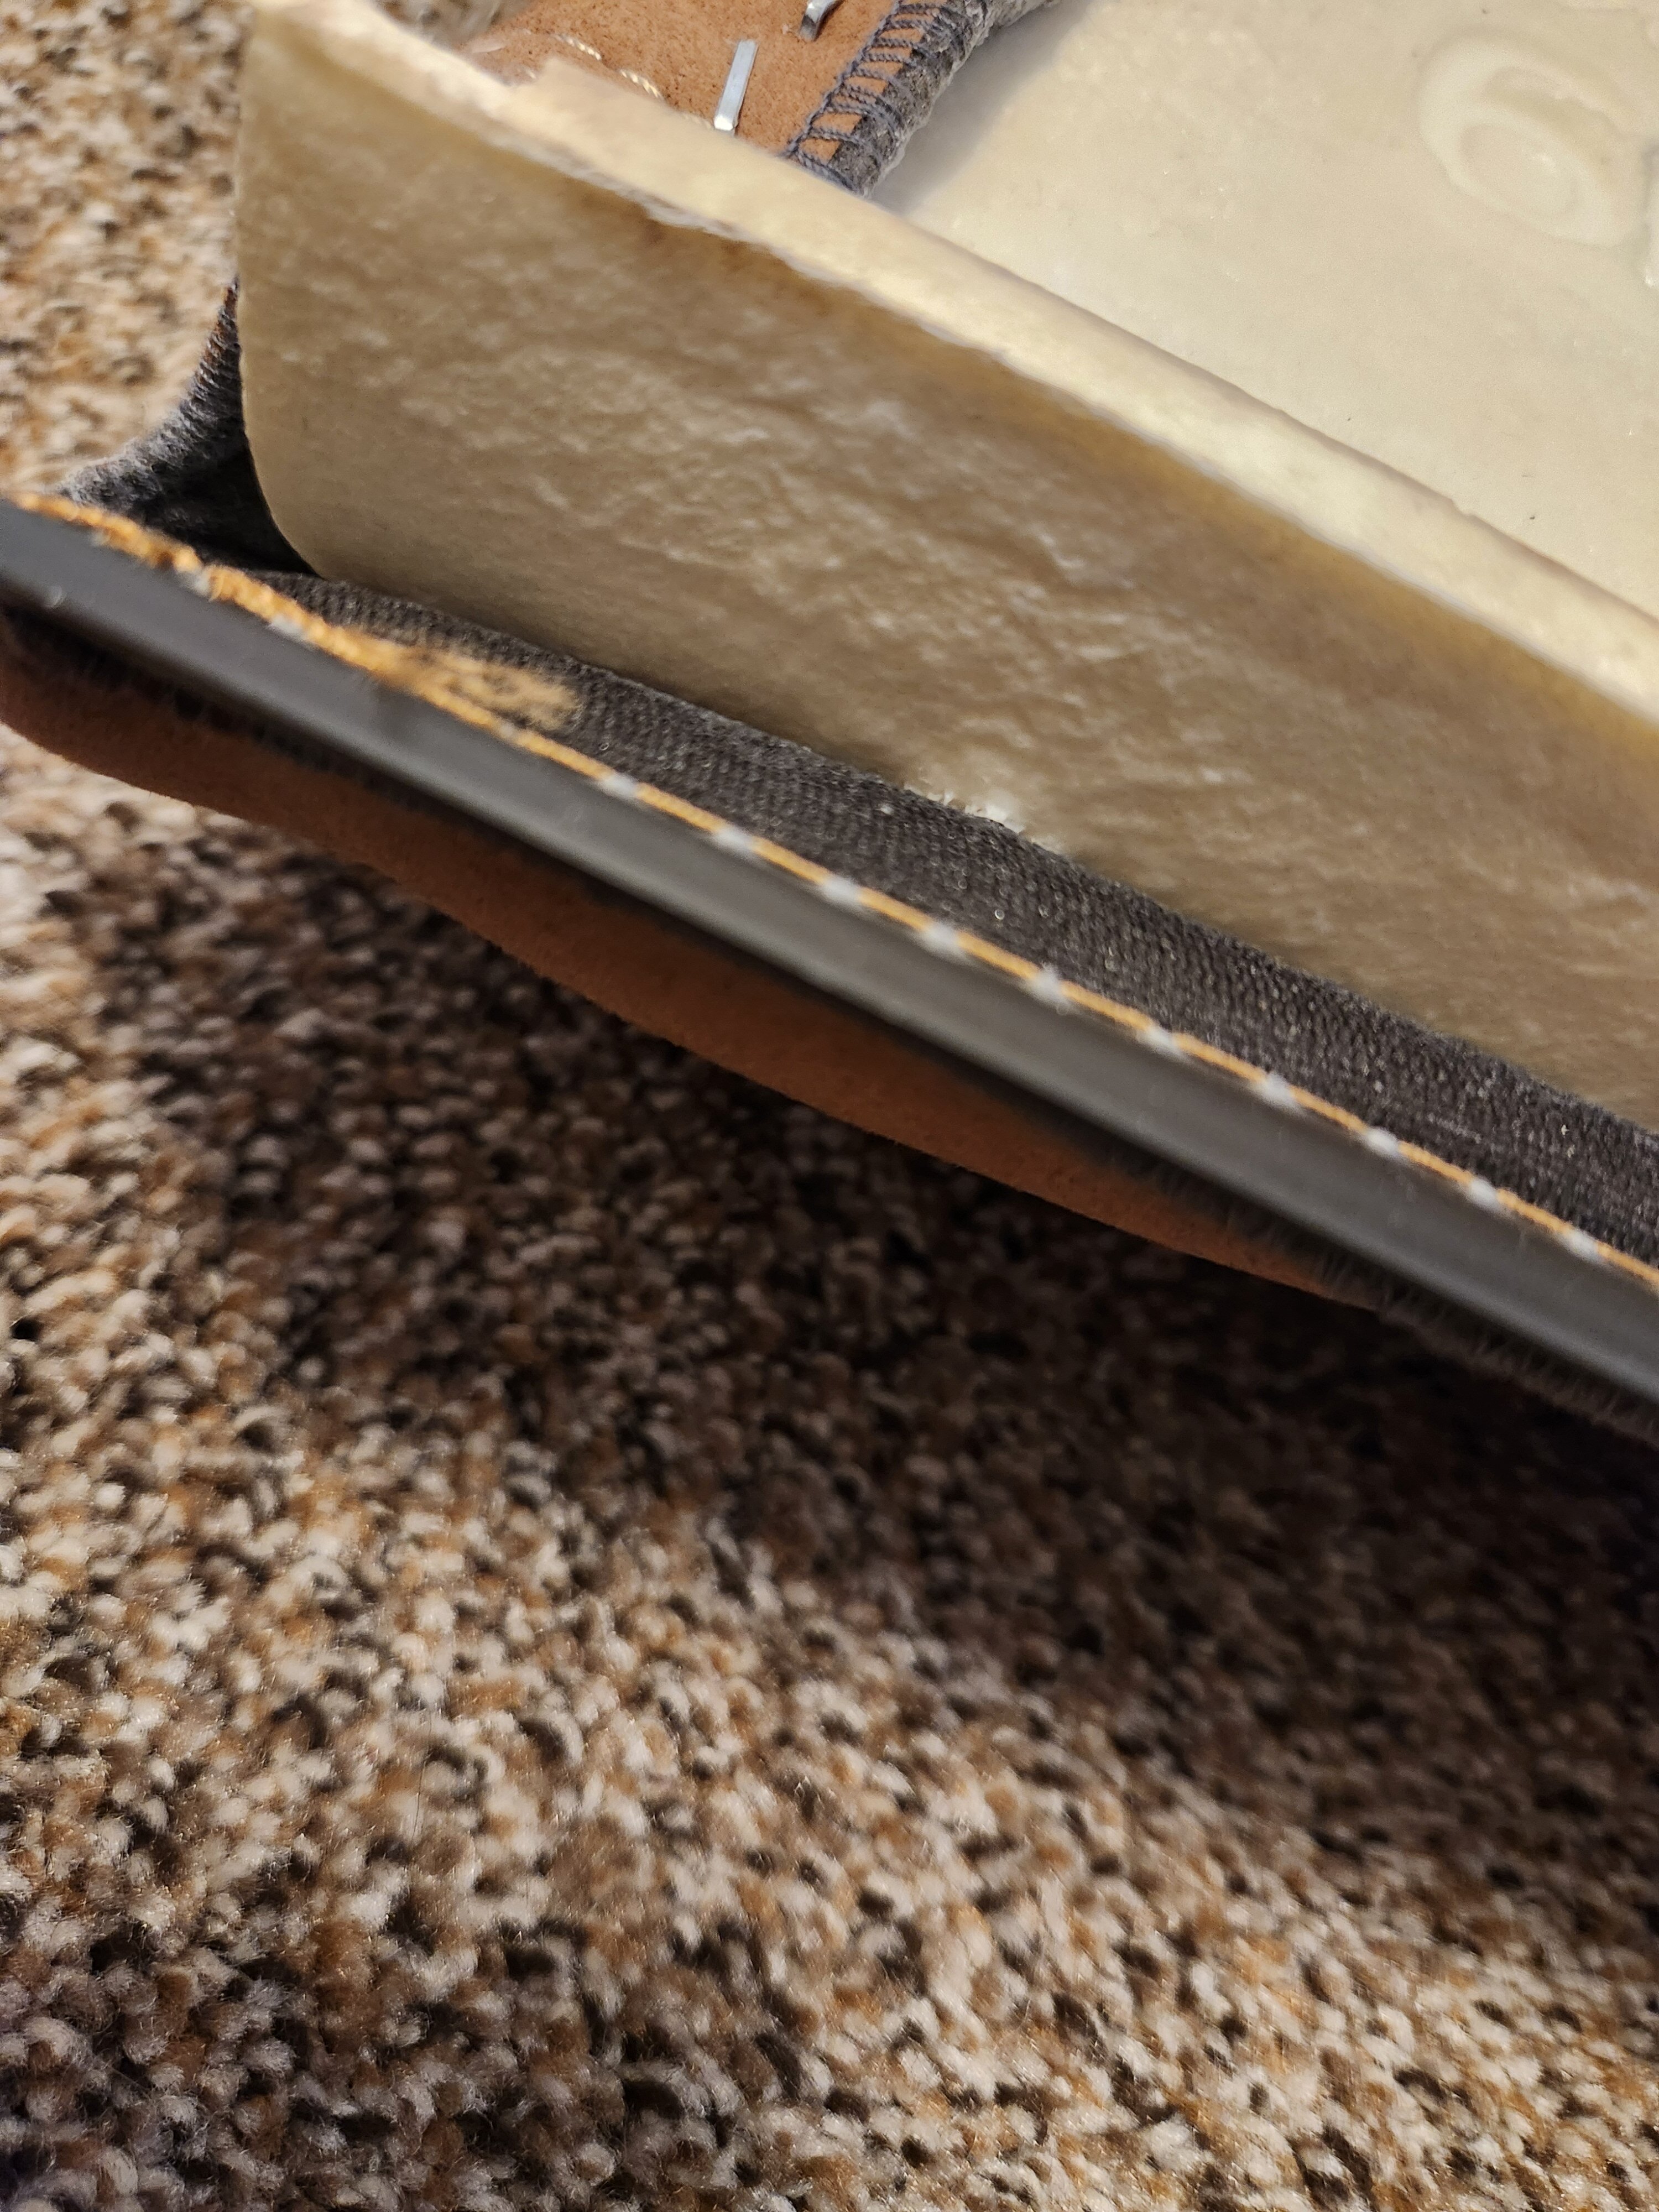
Some Disassembly Pics (they are ugly):
Seat Bottom Disassembly:
.jpg.fe225cc3824092eb43e2801185317e48.jpg)
.jpg.cb41f7362671df470adbf7f4383c3b43.jpg)
.jpg.66a82fab02d537c6043672ac9eb07b5d.jpg)
.jpg.2924790761d5a595d9f23615bf345d30.jpg)
.jpg.41a1293be1d7ceeeba51abe545e56457.jpg)
.jpg.984b0a3567eff84e3a9f21ad2e7e493f.jpg)
.jpg.aa7813c4919b7f8bb0c5ec8d67f4a0c2.jpg)
.jpg.98def95f4e0f0adb7fdde2e5d5046e05.jpg)
.jpg.119cf1633f04b856cf5e087e031e43c6.jpg)
.jpg.b82fe5094a9c177960f9c9fa5c63ce31.jpg)
.jpg.11b8980ab153713ede21703b407641f1.jpg)
.jpg.836ffe24c1a46d325619a7ab1cf5ceec.jpg)
.jpg.e3ec9665ffe251e505444011fcb649d3.jpg)
.jpg.934bb9cfeb5020ac1a511a71f3effb13.jpg)
.jpg.aa183d902b6fd115f66c1c6b2705ece5.jpg)
.jpg.dfb30e902ef0f9ff77aaf2f2f1b91606.jpg)


Thigh Support Removal and Disassembly:


.jpg.65843bfbfdf6fc3bae4f577a7afffa36.jpg)


Seat Back Disassembly:


The headrest is clipped into the seat back using large clips.


Here is the official How-To for removing Recaro headrests (I guess the idea is that you are pushing on the inside edge of the clip, raising it off of the headrest post, allowing it to be pulled up and removed):

Headrest Disassembly (sorry I didn't get many pics of this, but it was just a long metal bracket on the bottom between the posts that both sides clips into).

.jpg.ad850b77f655353052dba086193db1d4.jpg)
After disassembly, I cleaned the seat frames, sanding any rust away from the better of the two seats. The super rusty seat frame pieces were sand blasted by a local guy. I had my father-in-law weld some new metal on the frame to restore the strength to the seat back and rebuild the side bolster support (not pretty, but functional). Both seat frames and the hinge parts were then painted with 2k paint for a nice new finish. Hardware was either replaced with new or newly plated, including the seat sliders.
After sandblasting:


After Welding Repairs and paint on the lower frame:


For the upholstery, I wanted leather sides and fabric of some kind for the seating areas, to minimize back-sweat in the hot days. I decided on LSeats.com, and their leather looked great, their Beige color matched the interior very well and they were CHEAP! $399 for both front seats, with the 2nd material option included. I ended up with a matching suede, which complements the leather nicely. The completed upholstery arrived in about three weeks and looked amazing. I also bought a full leather hide for the door panels and the rear seat upholstery (I will cover those in separate blog entries).
The foam ended up being a little mismatched, and when paired with the new upholstery, it wasn't fitting well, so I decided to buy new foam. It was about $250 per seat and well worth it.


Tools and Supplies:
I purchased a few tools and supplies to help with the project. Here is what I bought:
- Bostitch outward clinch staple gun (this is used to staple, in addition to adhesive, the upholstery to the back and bottom pads)

- High crown staples for the outward clinch stapler

- Trim panel fasteners (these are used for securing the underside of the side bolsters and the thigh supports)


- Hog ring pliers and hog rings (get hog rings that have a sharp point)

- 3M 90 High Strength Spray Adhesive

Other helpful tools:
- Awl or sharp pick
- Assortment of pliers
- Sharp, small scissors
- Utility knife
- hair dryer or heat gun
Reassembly Pictures:
Seat Bottom Assembly:


Seat Back Assembly:


Headrest Assembly:


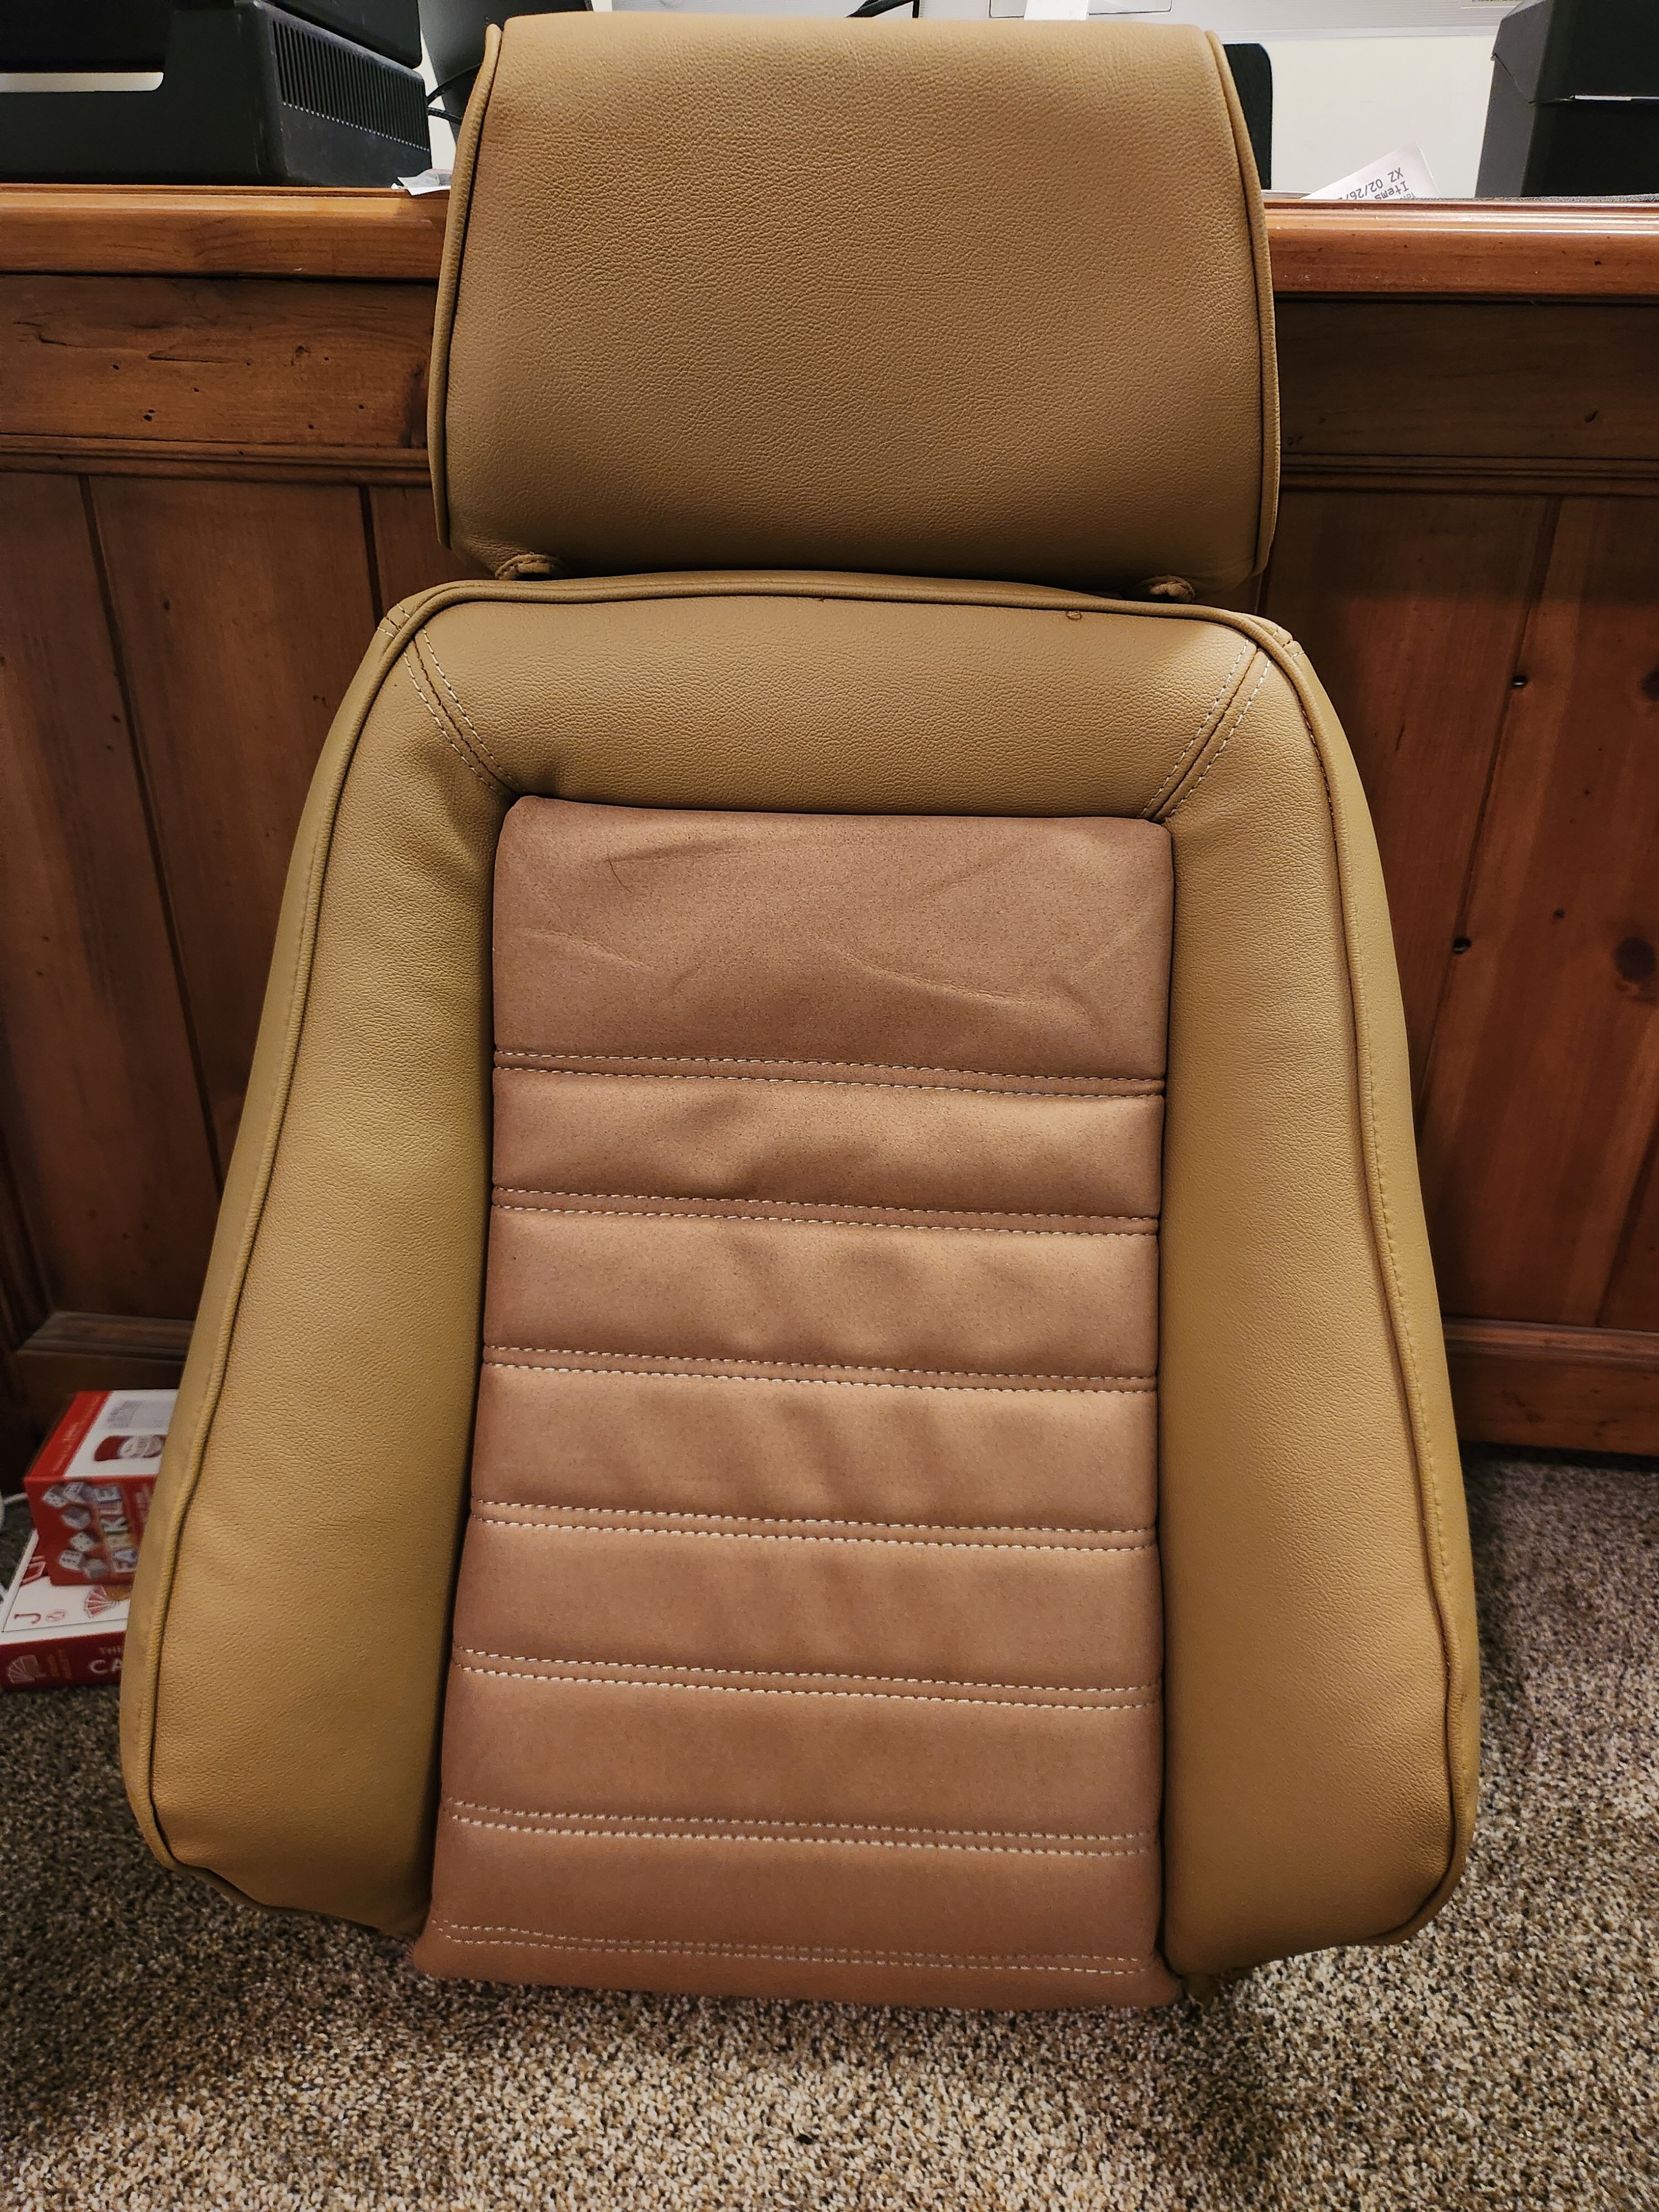


Overall a very rewarding and fulfilling project. I love the way they turned out, even though I know where to look for the flaws. There is a lot of pulling, tucking, grumbling, removing clips and redoing. The hair dryer is helpful if you need to get a little more stretch in an area. Some areas went together a little difficult, like the headrests and the bottom of the seats, but the end result is very nice looking.
Dead in the graveyard: Risen from the Dead


Edited by bergie33
-
 4
4

3 Comments
Recommended Comments
Create an account or sign in to comment
You need to be a member in order to leave a comment
Create an account
Sign up for a new account in our community. It's easy!
Register a new accountSign in
Already have an account? Sign in here.
Sign In Now